2 Days in Zion National Park

.
.
Zion National Park is probably the most popular national park in Utah
with the number of visitors reaching around 4 million each year. While
not my favorite national park in Utah or even my favorite national park
of all time I still think this park is one that everyone needs to visit at least once. There
is so much to do, amazing views you will not want to miss, and it is a
great place for a much needed getaway. Read about my two days in Zion below!
.
.
DAY 1:
.
My first day in the park I missed my shuttle boarding time
(COVID precautions were still in place so you had to buy timed shuttle tickets)
so, after being one of the lucky ones to get a coveted visitor center parking
spot, I decided instead to do a couple hikes around the visitor center.
(I got there around 3ish and the signs at the park entrance gate said the visitor
center parking lot was full. I ignored the signs and instead headed to the parking
lot and snagged a spot so if you are feeling lucky I say give it a go!)
.
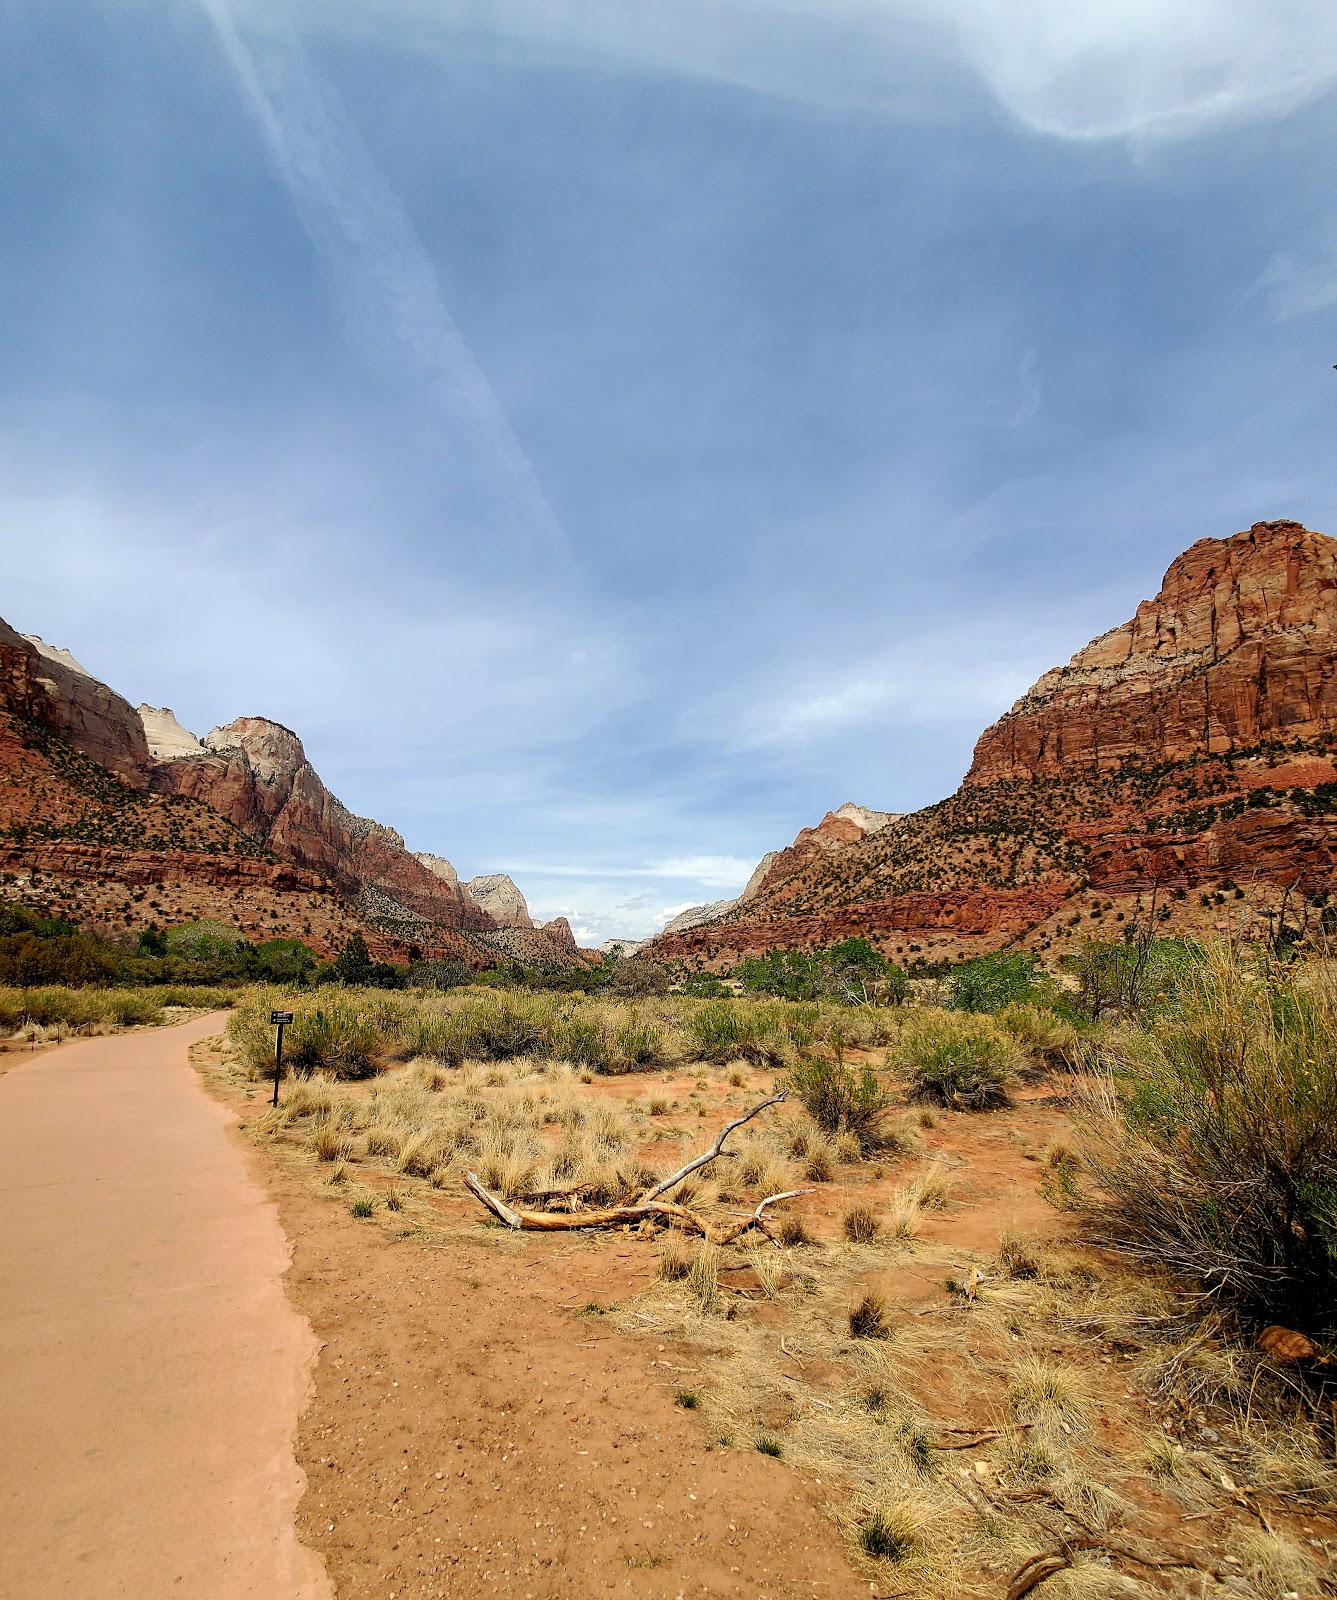
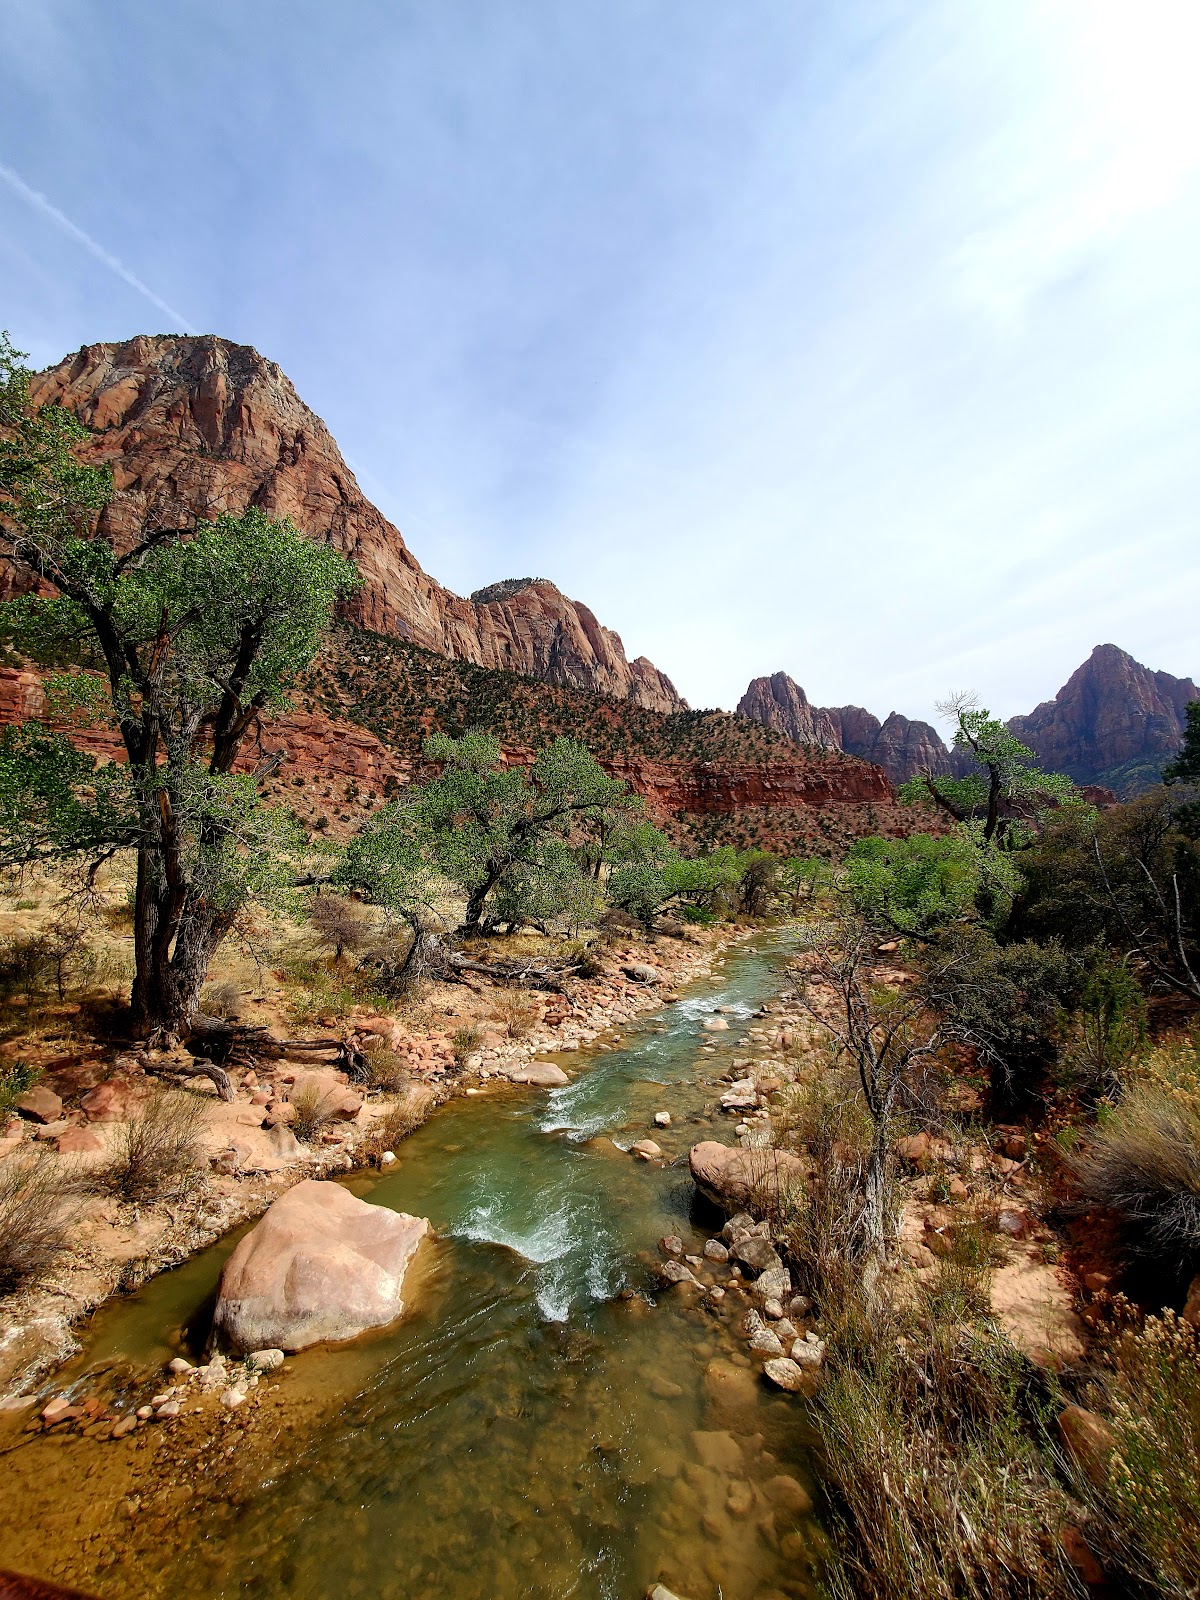
My first hike was the relaxing Pa’rus Trail. This trail is an easy, paved (wheel-chair accessible)
stroll along the Virgin River with beautiful scenes of the red rocks, river, and
bridges. This is also the only trail in the park that is open
to both bikes and pets and there are places along the trail you can go down
to the river for a closer look, to stick your feet in, or even have a little
picnic by the water. The trail starts in the South Campground and follows
the river to Canyon Junction which happens to be one of the shuttle stops within
the park. Unfortunately, when I was there the Canyon Junction shuttle stop was
not in operation (I’m guessing due to COVID), but when it is open again I highly
recommend, when riding the shuttle back to the visitor center, getting off at
Canyon Junction and walking the Pa’rus Trail back especially if it is nearing sunset.
.
TRAIL INFORMATION
Rating: EASY
Round Trip Length: 3.5 miles
Average Time to Allot: 1-2 hours
Elevation Change: Little; ~50ft
.
.
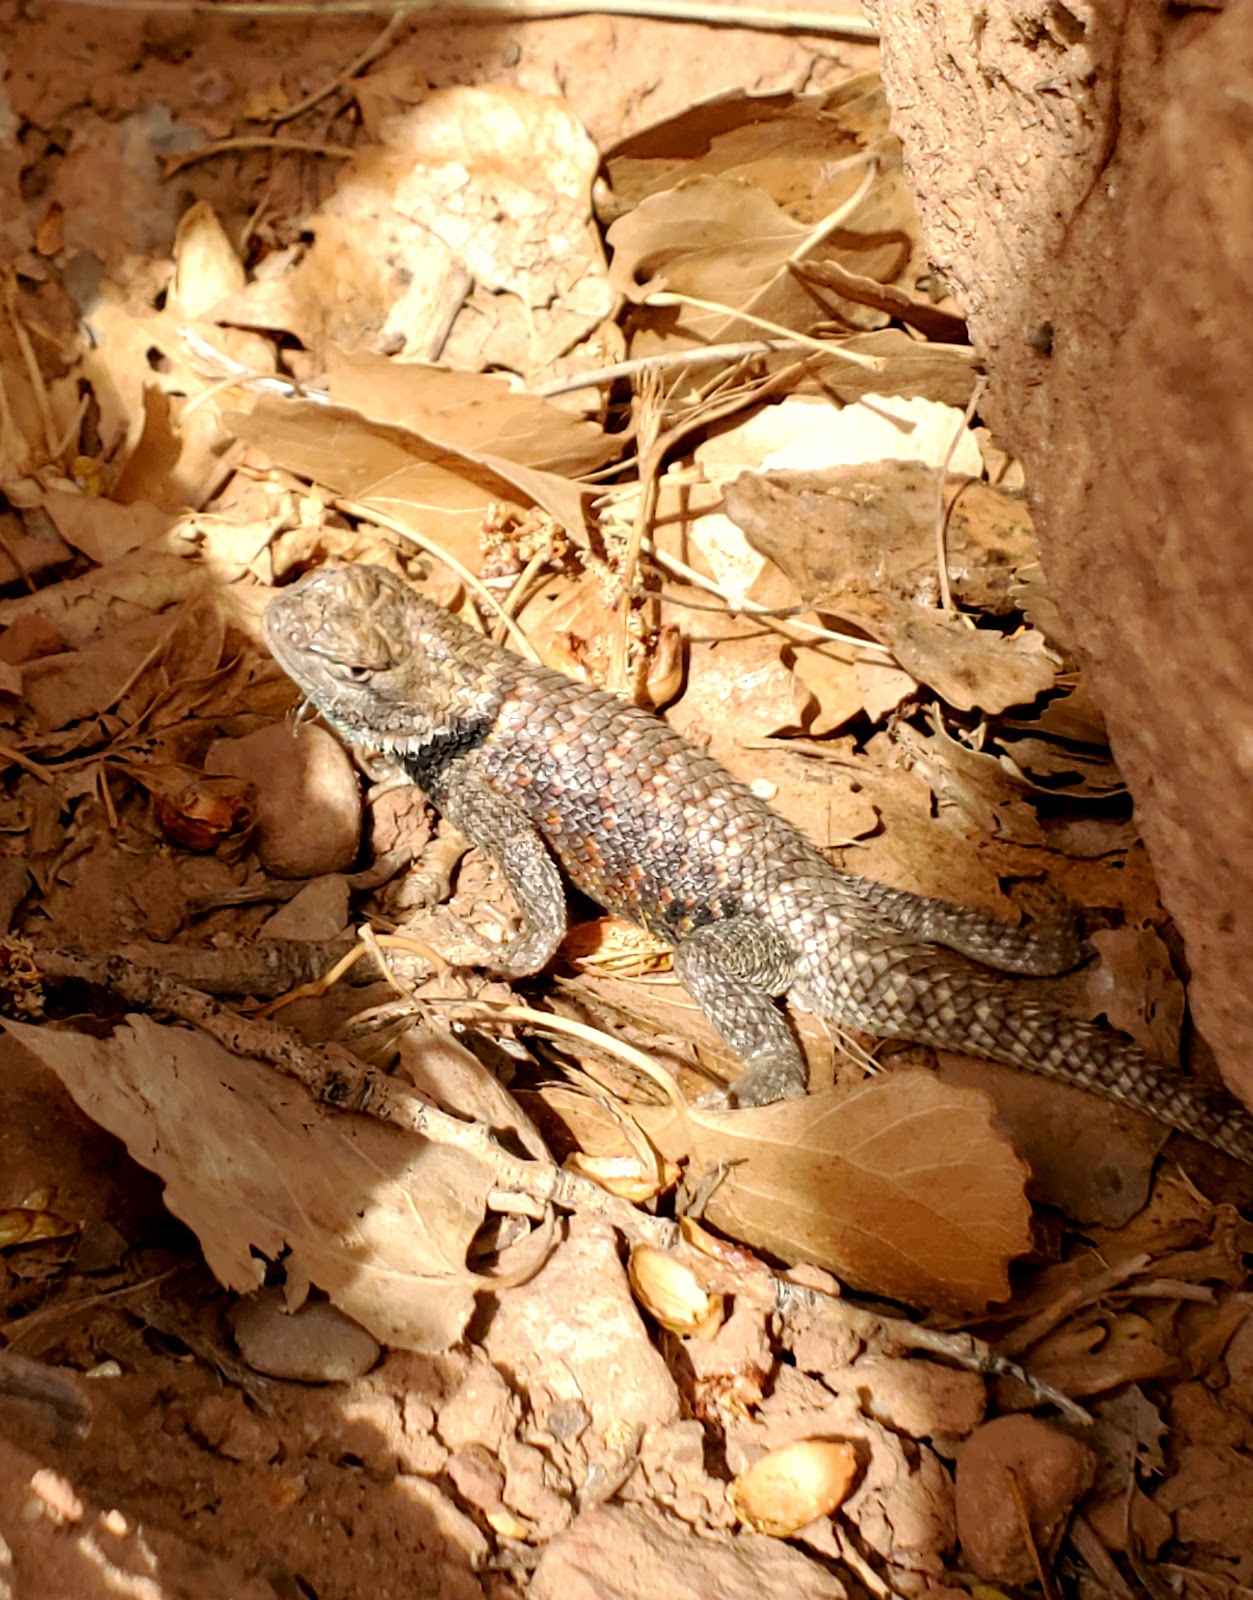
I also saw some wildlife on this trail! :)
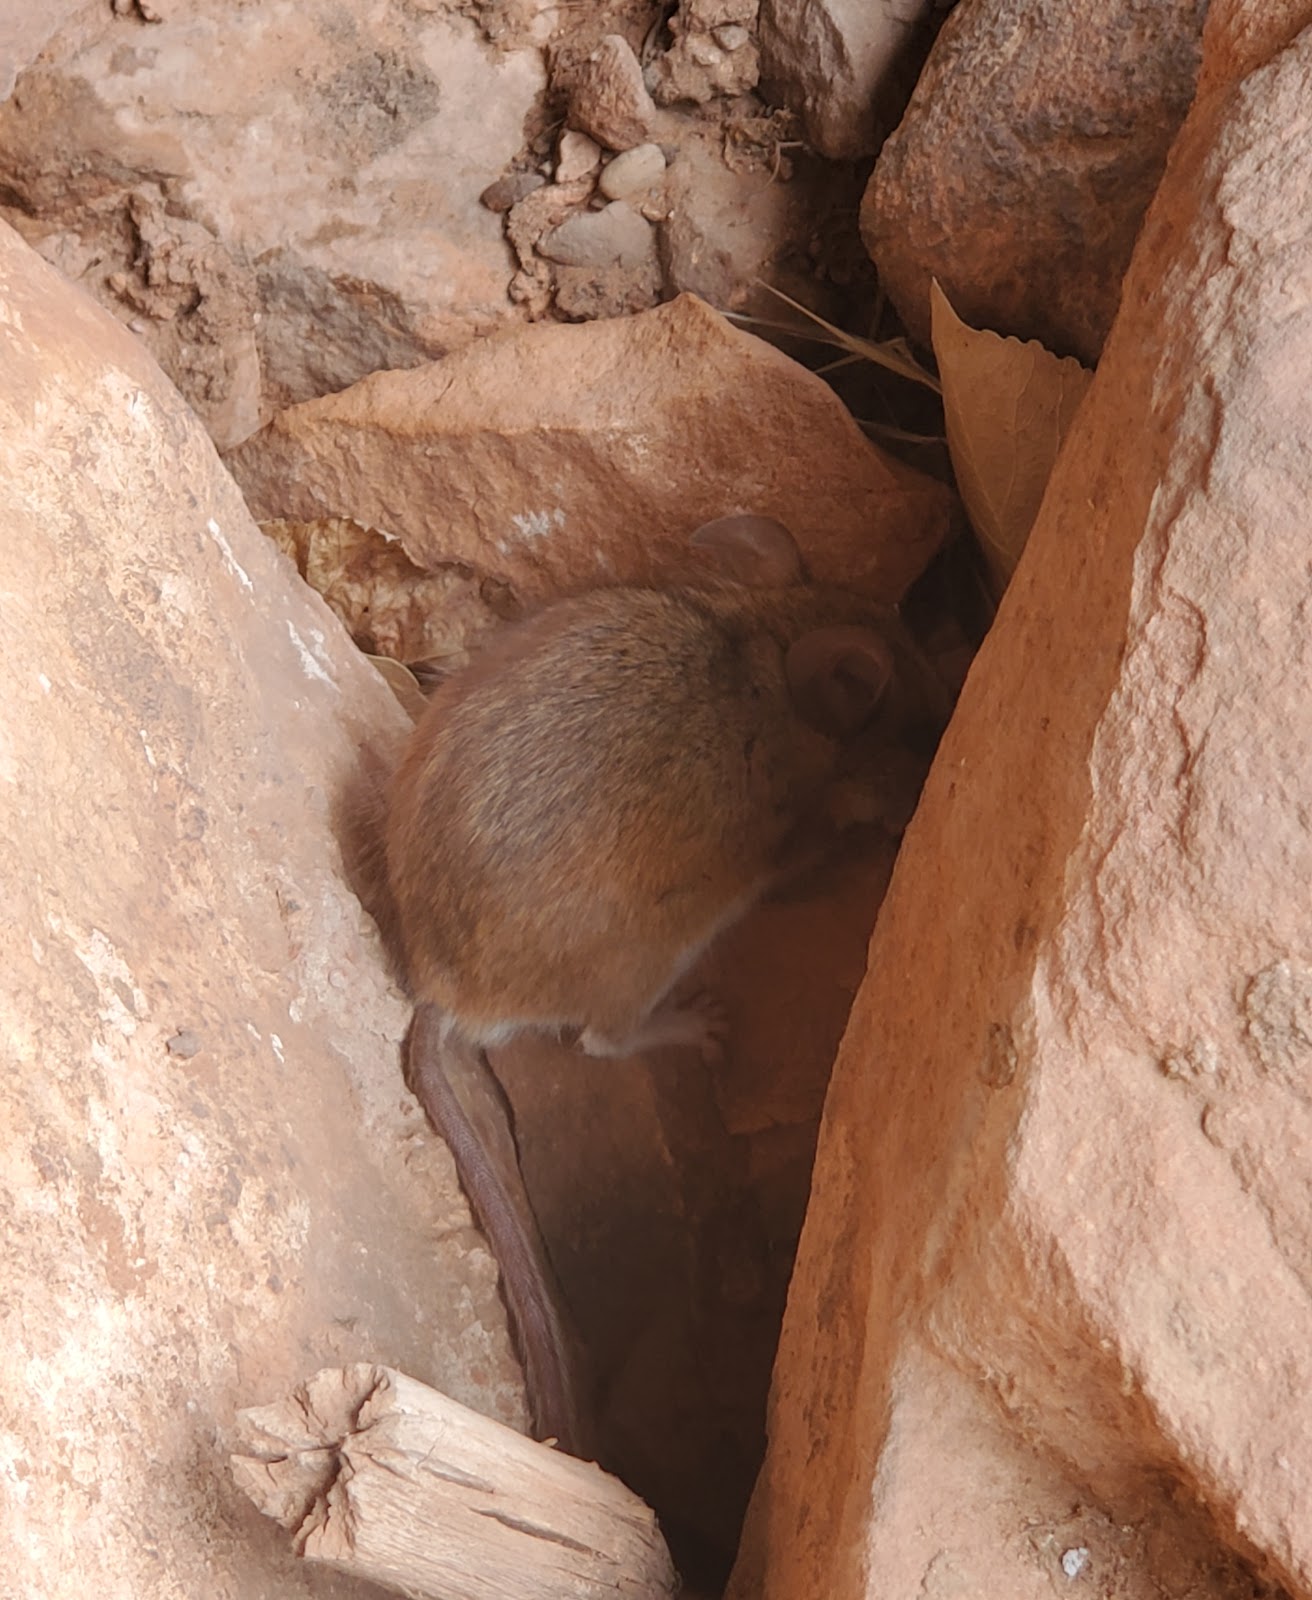
So cute!
.
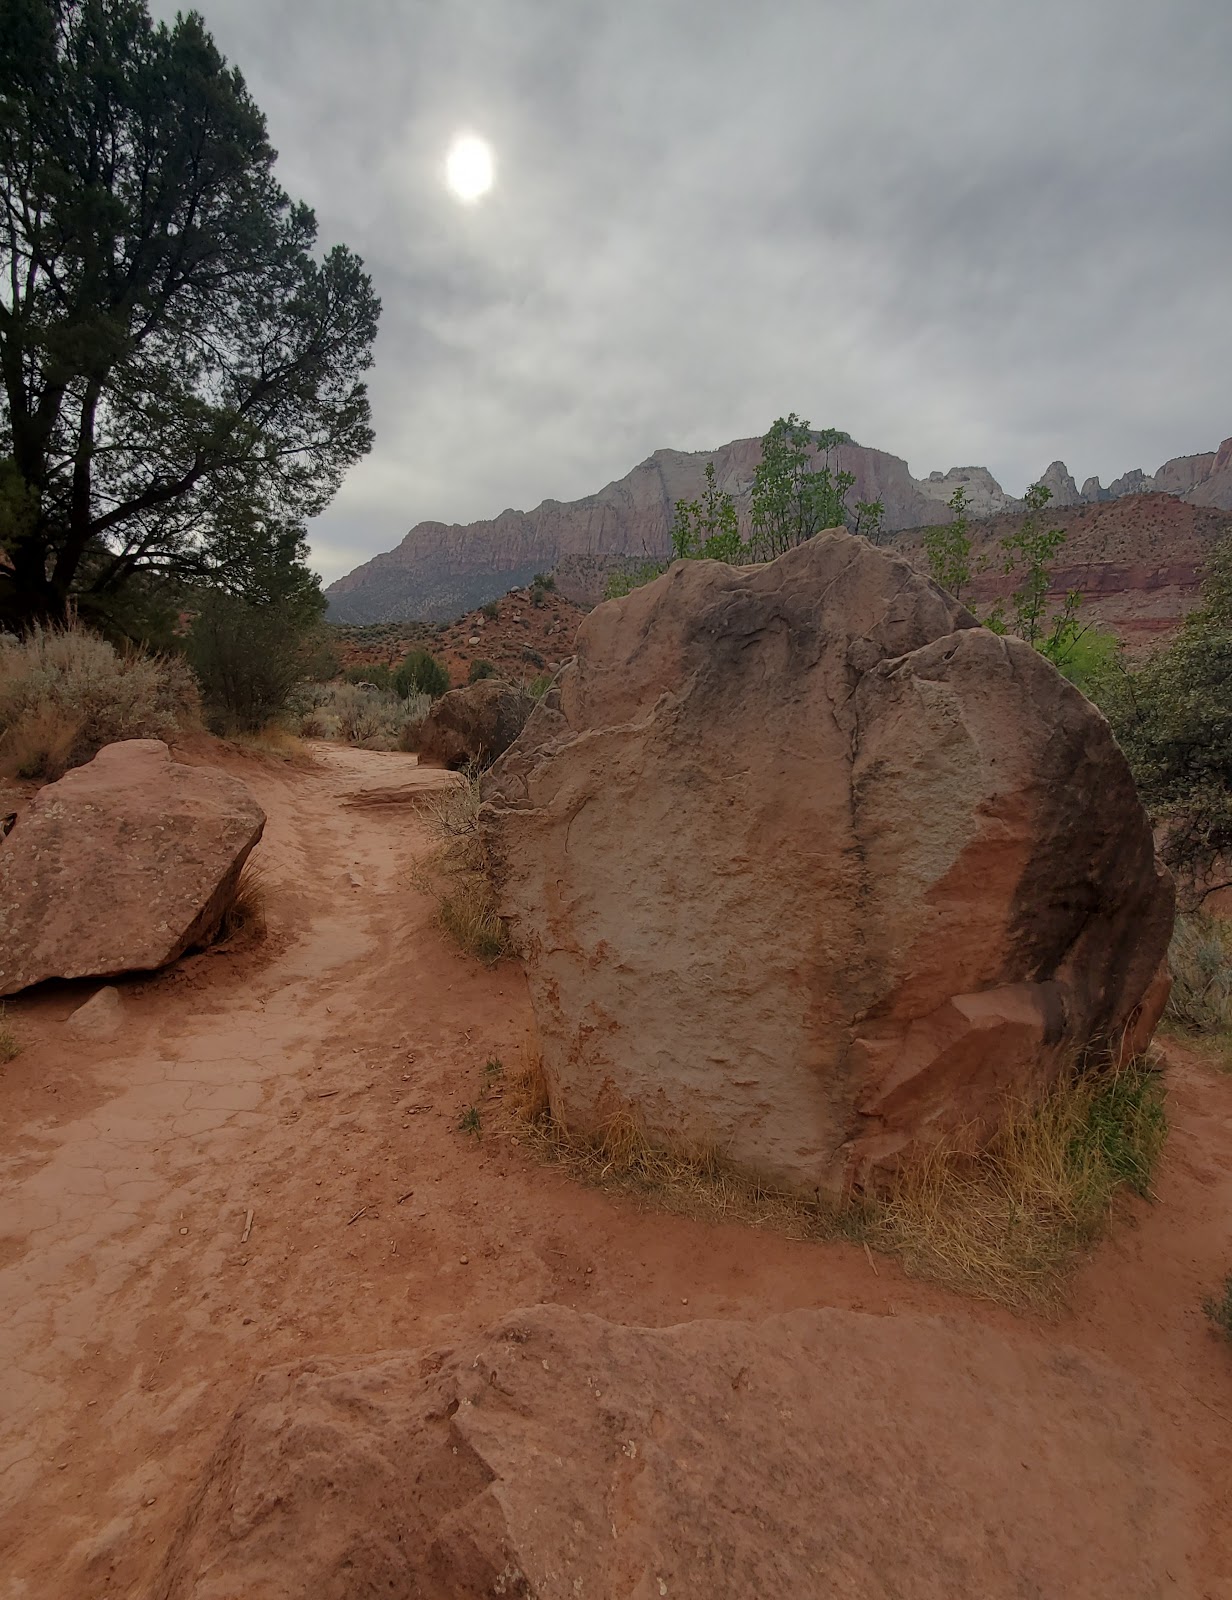
After I finished the Pa’rus Trail I decided to hike the Watchman Trail.
.
TRAIL INFORMATION - Watchman Trail
Rating: MODERATE
Round Trip Length: 3.3 miles
Average Time to Allot: 1-2 hours
Elevation Change: ~368ft
.
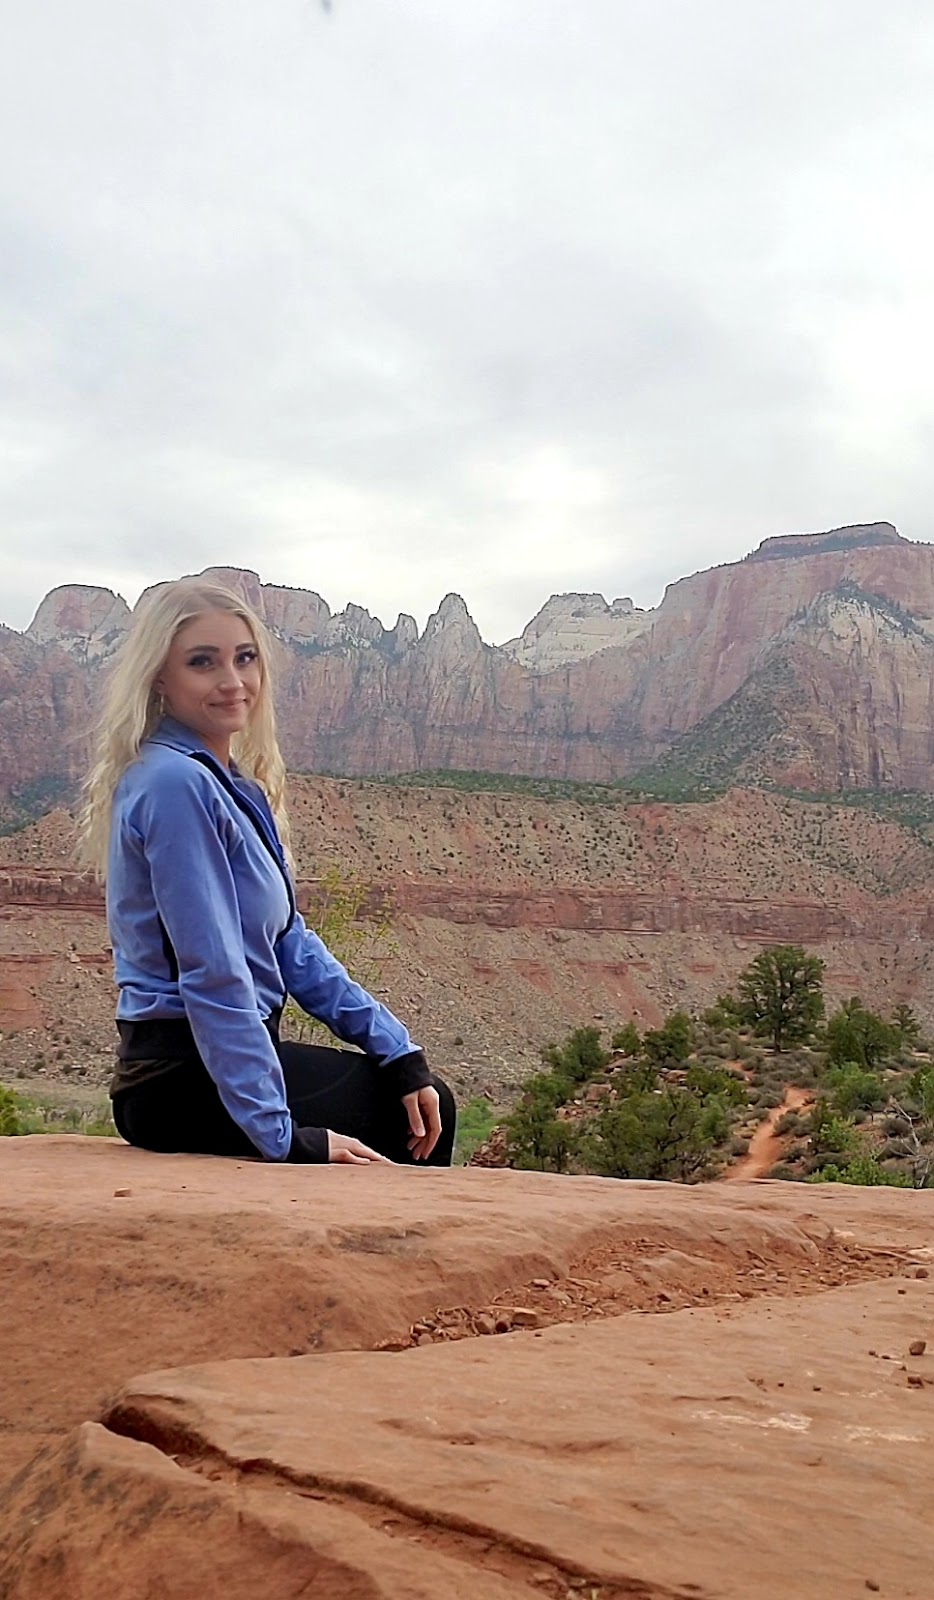
This hike was definitely a bit longer and more strenuous than I was
anticipating, but it had some great views. (This is also a family
friendly hike! I actually met quite a few families out hiking while I was there.)
.
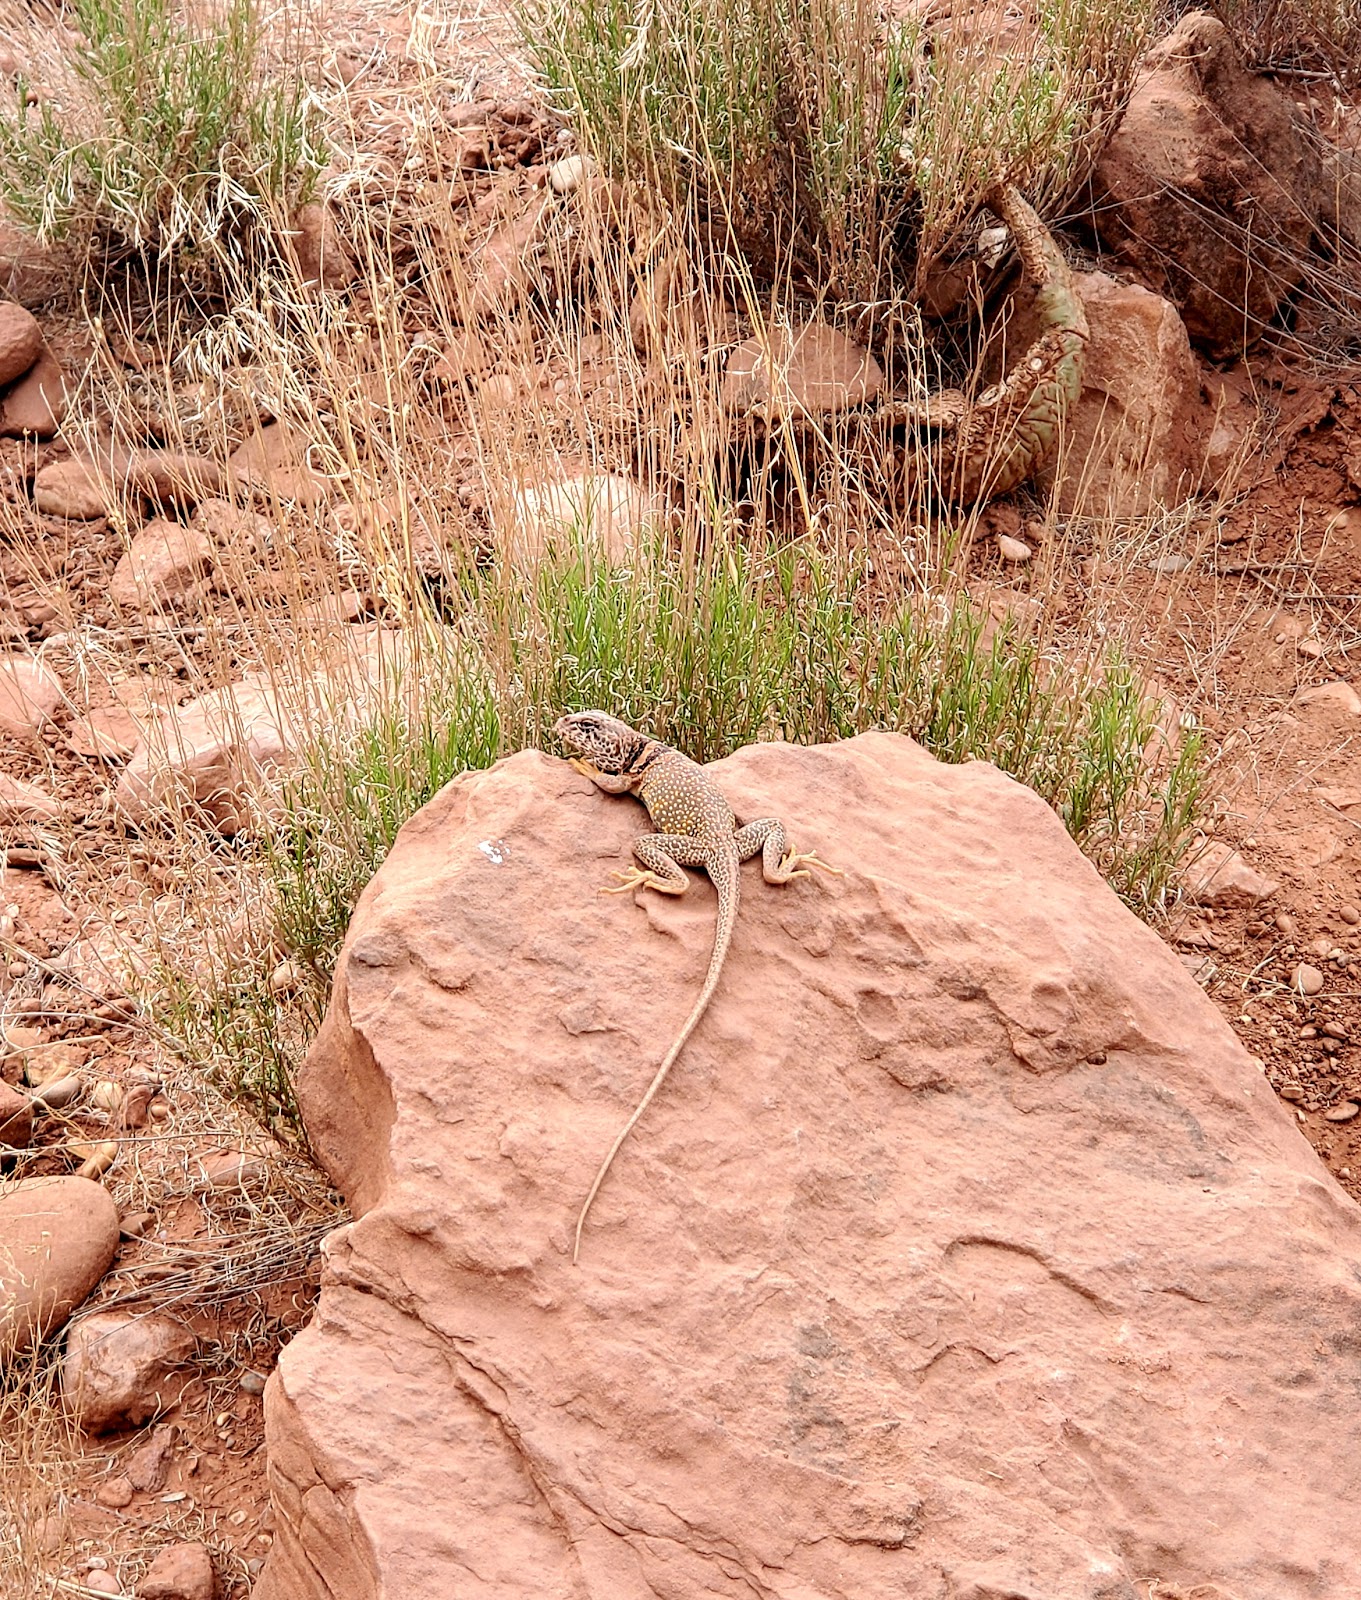
Saw another lizard!
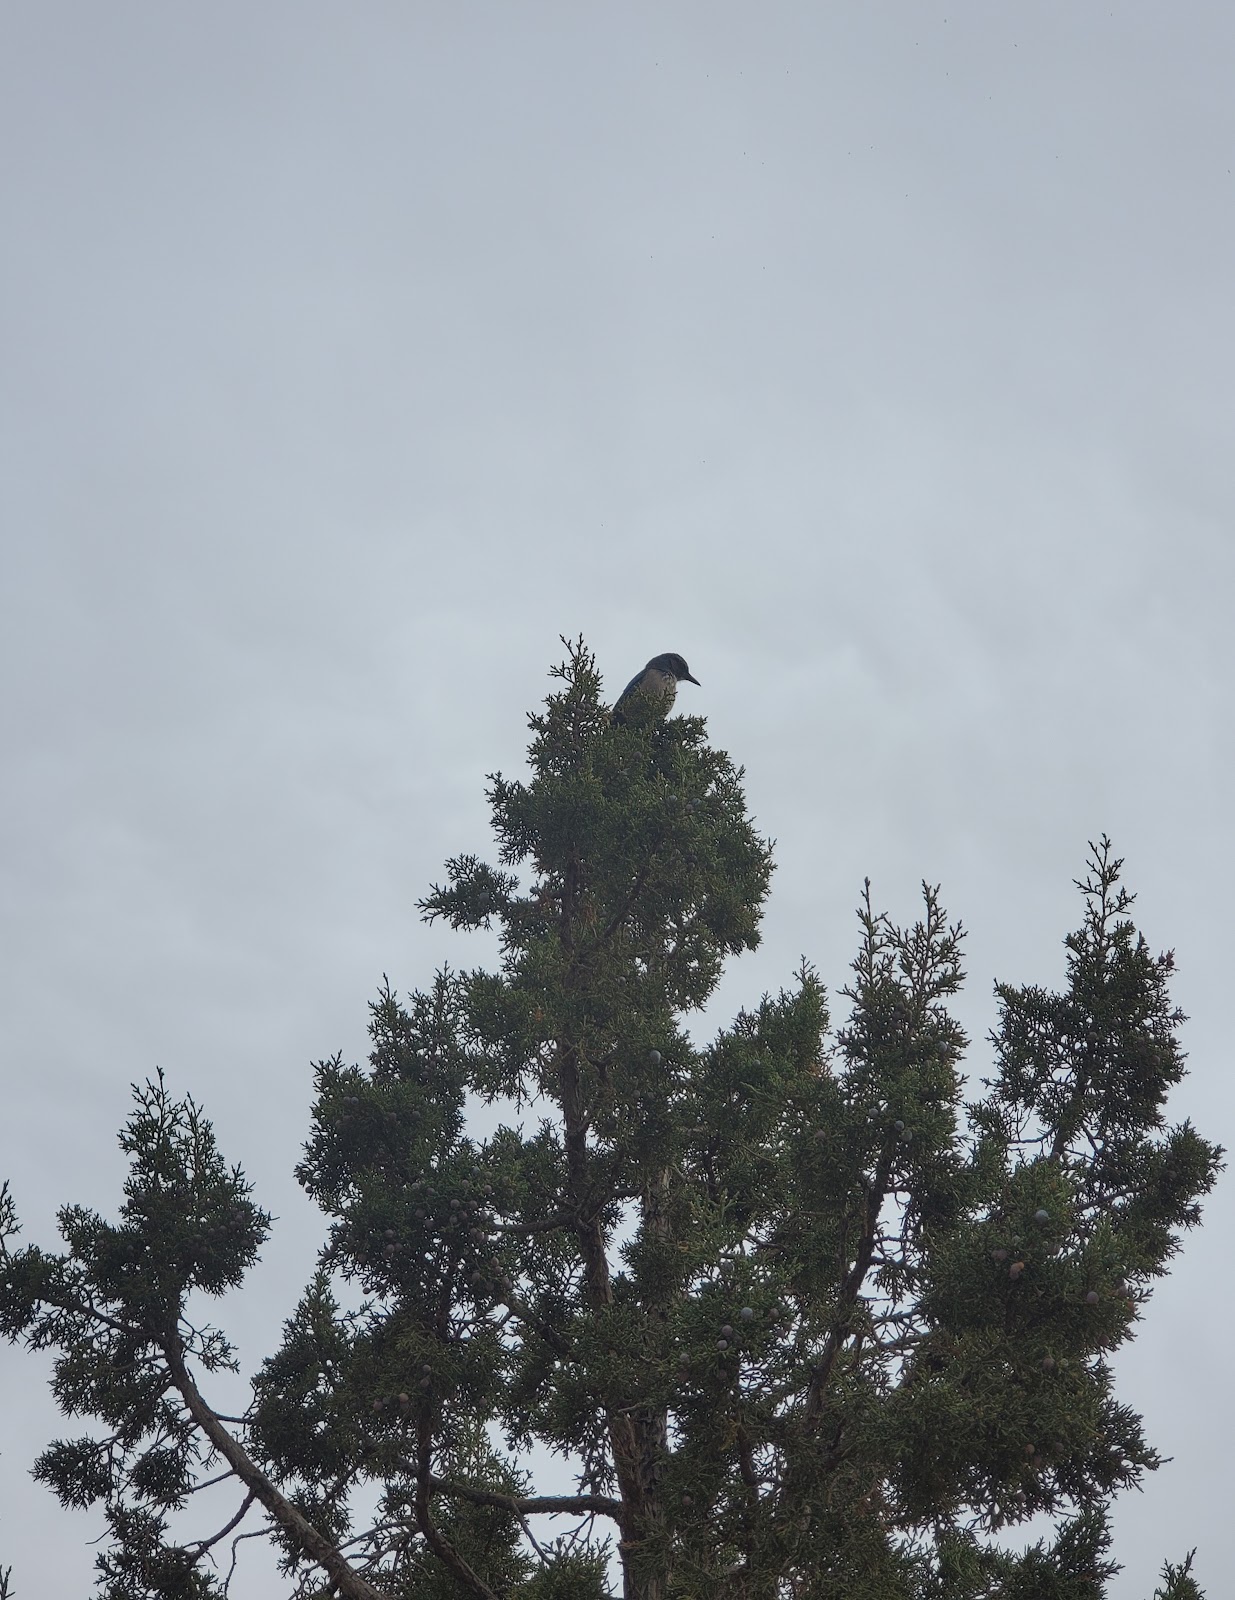
And a bird. Lol
.
Once I reached the end of the Watchman trail I took some time to
sit and enjoy the view, write in my travel journal, and have a little snack.
There is a small 0.3 mile loop that was added on to the trail that provides
more views to the south, but I opted to not do the loop because I felt
like I could see everything well enough from where I was sitting.
.

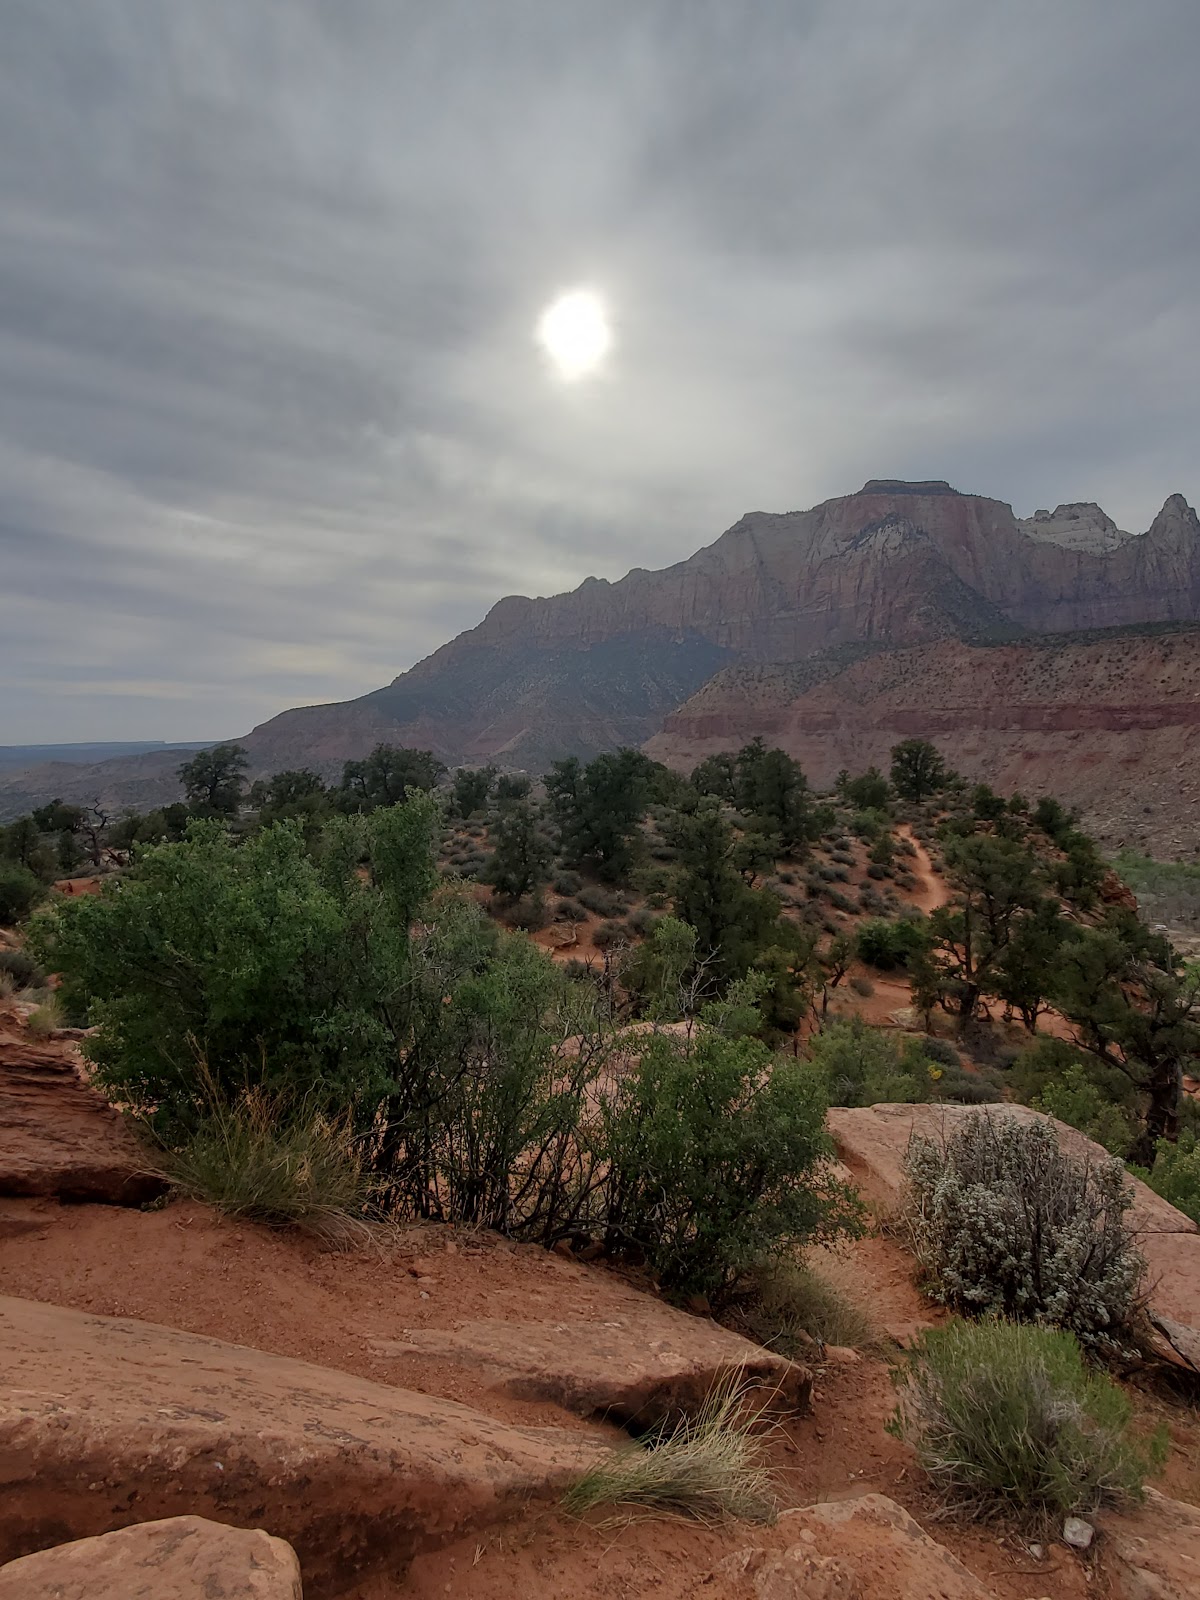
The trail between the trees down below is the loop.
.
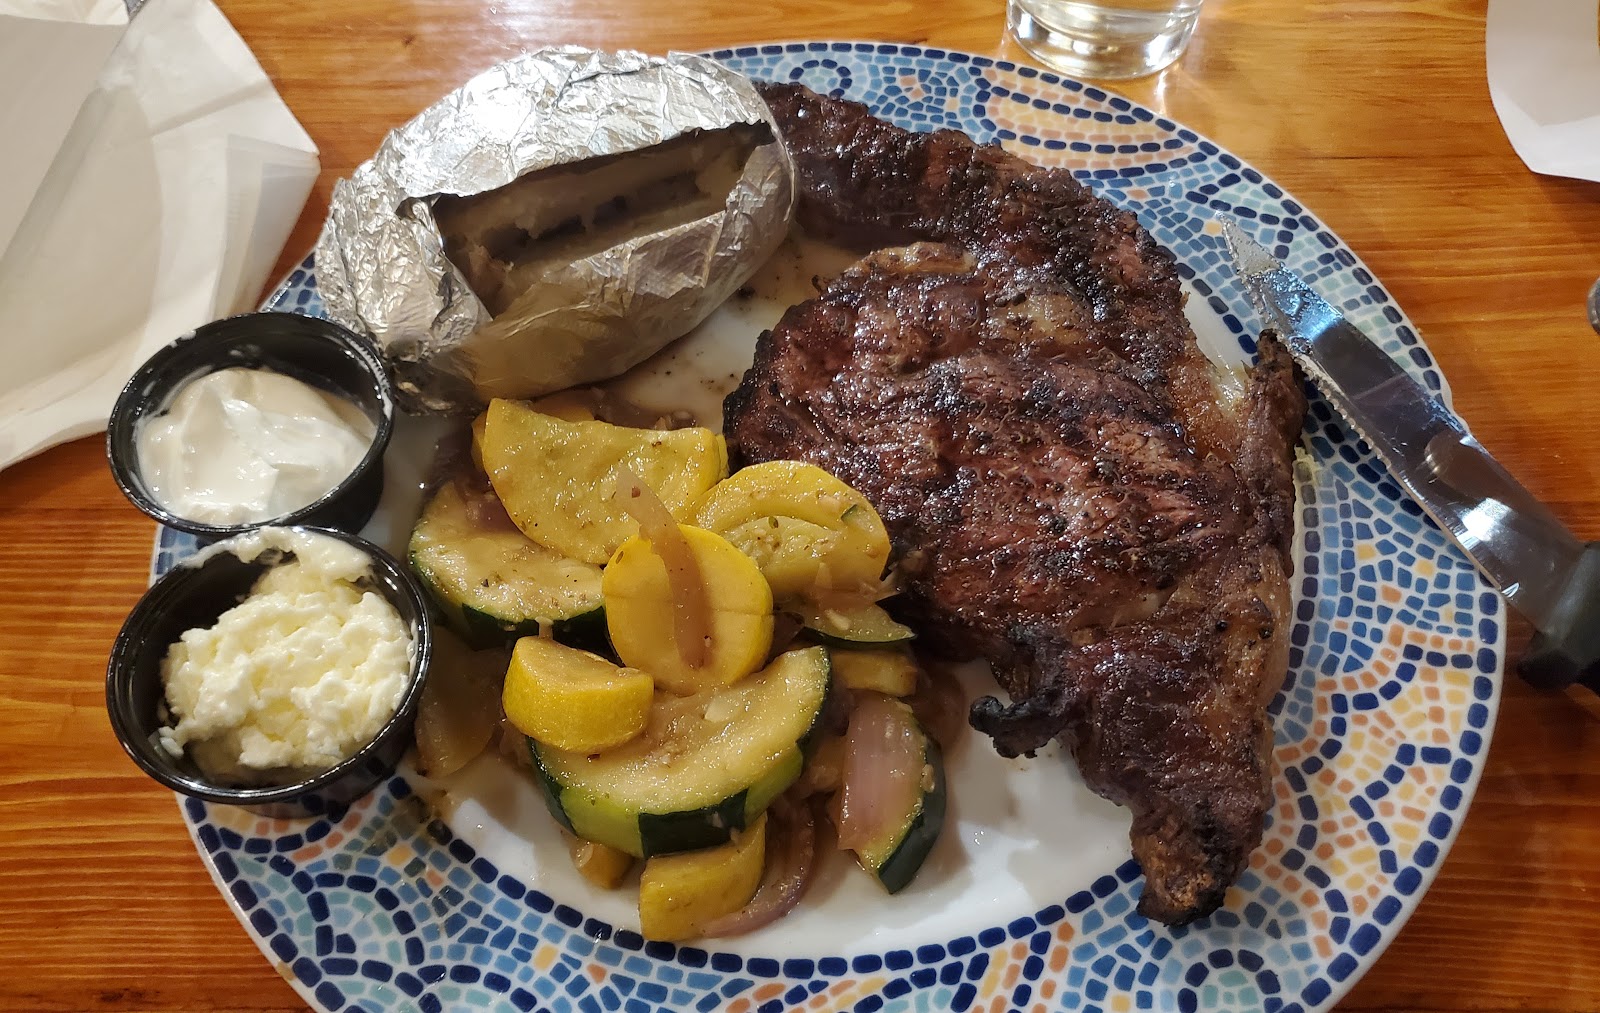
And that completed day one in Zion. After the Watchman Trail I
went back to the truck and then had dinner at Stagecoach Grille in
La Verkin, Utah. I ordered the 16oz ribeye with baked potato and
veggies. It was definitely a very expensive meal coming in at around
$50 and to be honest I didn’t think it was worth that, but it filled me
up so I guess that’s all that matters. Lol
.
.
DAY 2:
.
With shuttle tickets secured for 10am I arrived at the park about
9am. Even though it was a Wednesday the park was still soooo busy
and this time the visitor center parking lot was actually FULL. However, unwilling
to give up so easily I drove around the parking lot until I spotted a couple
walking to their vehicle. Like the excellent car shark I became on this trip
(insert JAWS theme song here) I followed them and was able to
commandeer their spot when they finally left. Seriously a shark week
highlight. Lol After parking I boarded the shuttle and rode out to
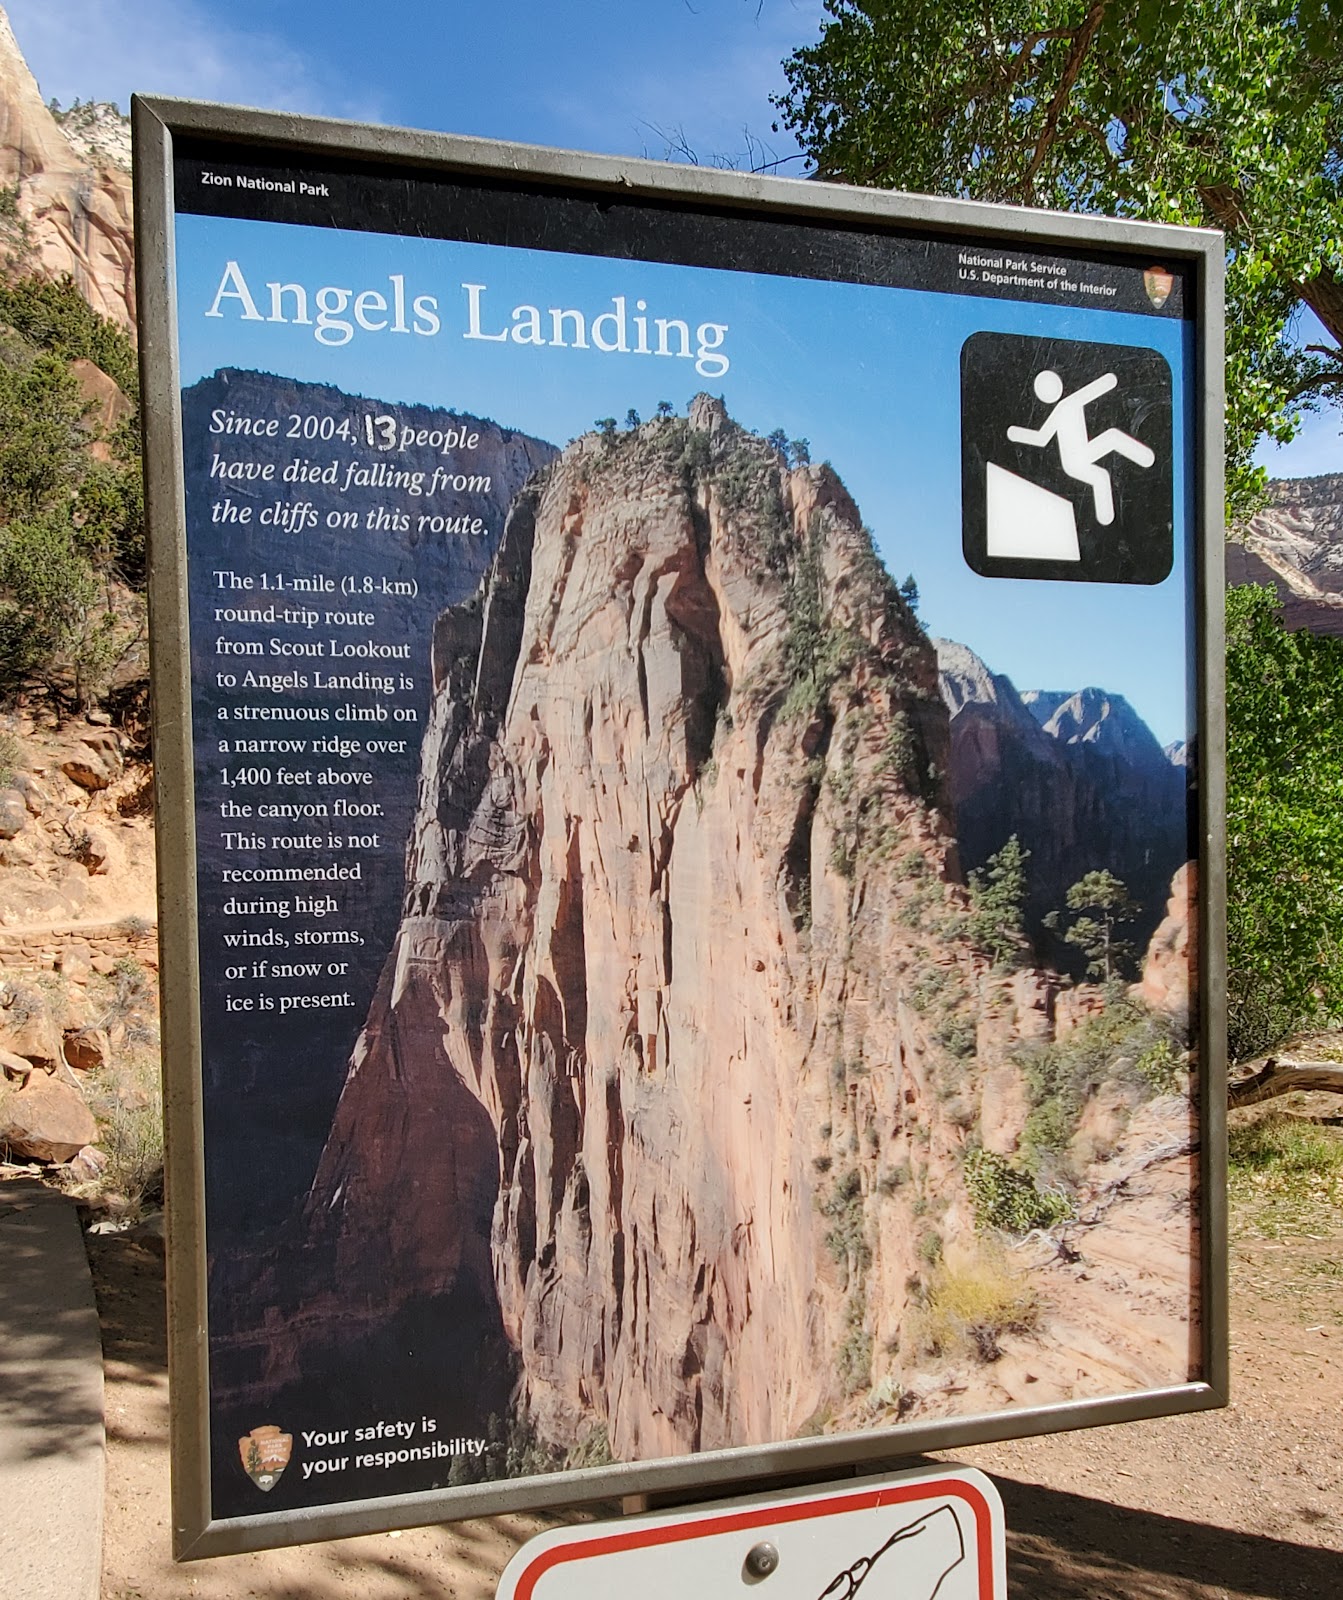
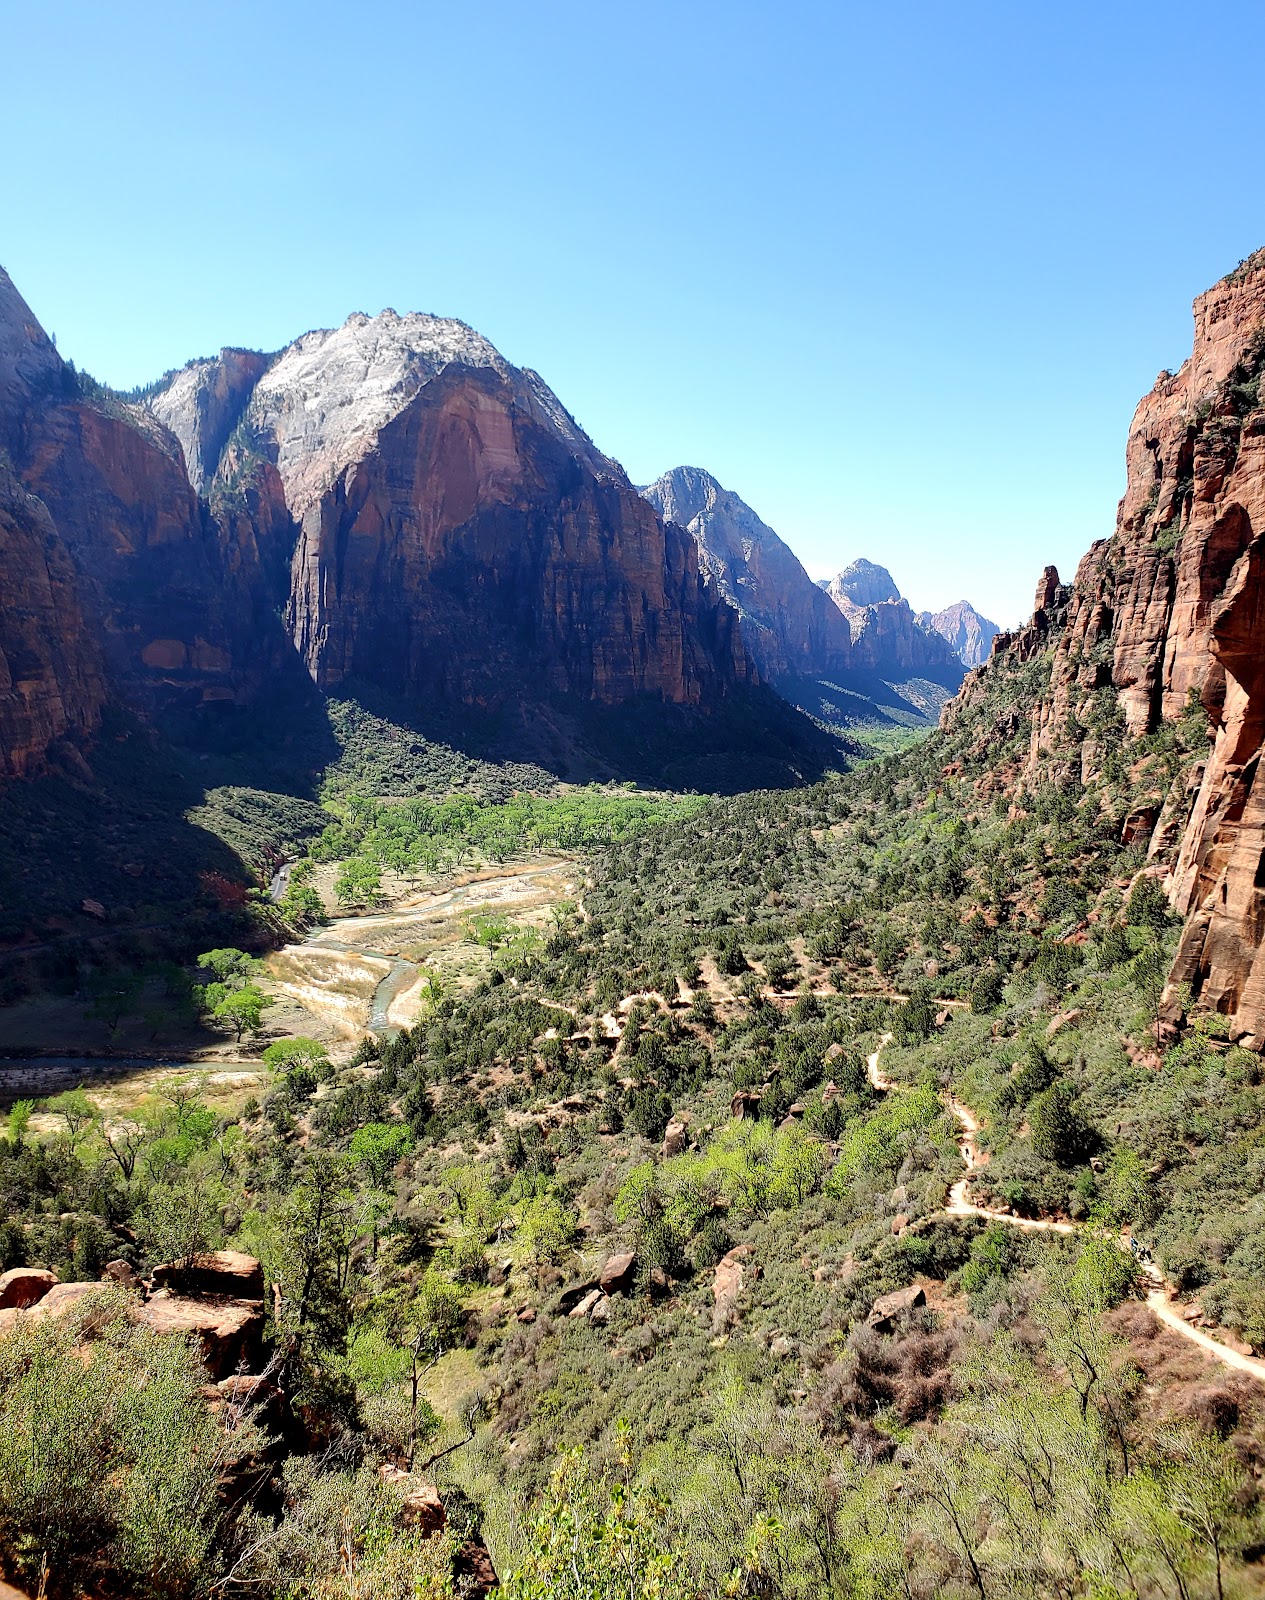
the #6 shuttle spot, The Grotto. Departing the shuttle I headed out onto
the popular Angel’s Landing trail.
.
TRAIL INFORMATION - Angel’s Landing
Rating: STRENUOUS
Round Trip Length: 5.4 miles
Average Time to Allot: 4-5 hours
Elevation Change: ~1500ft
.

.
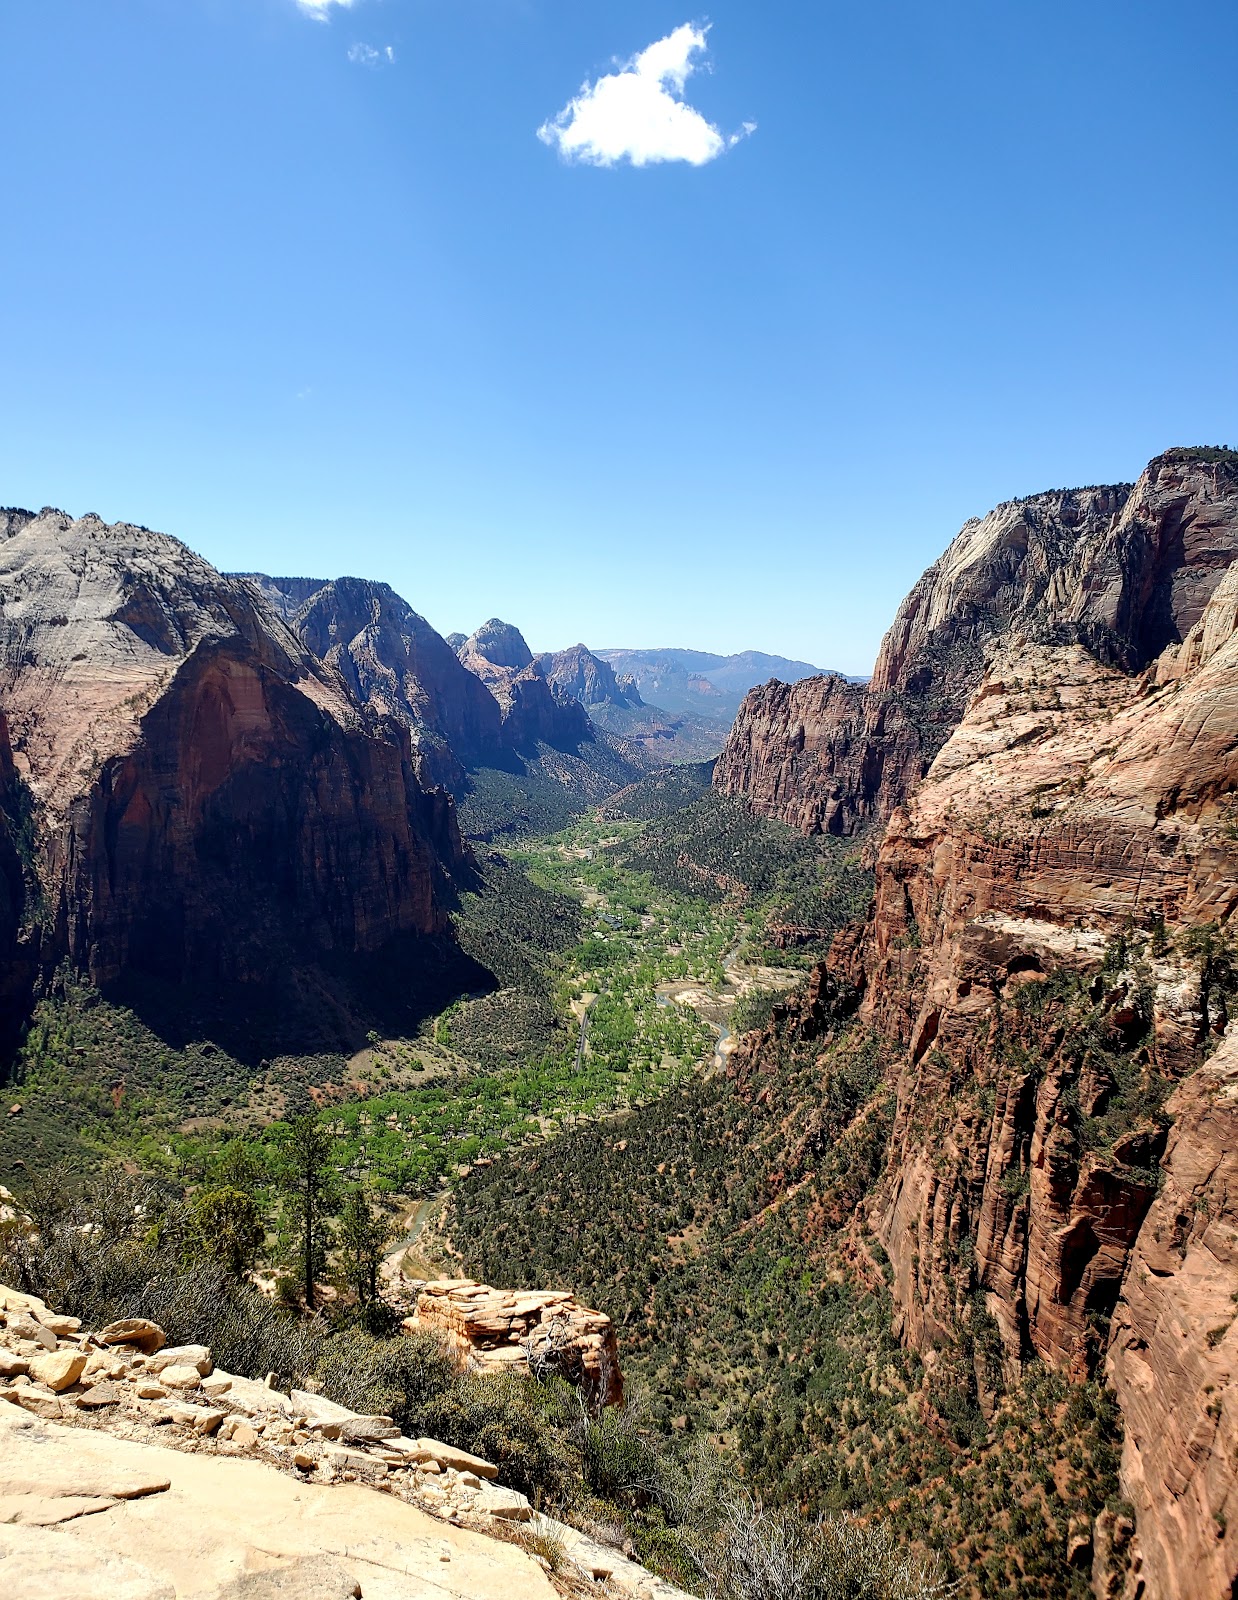
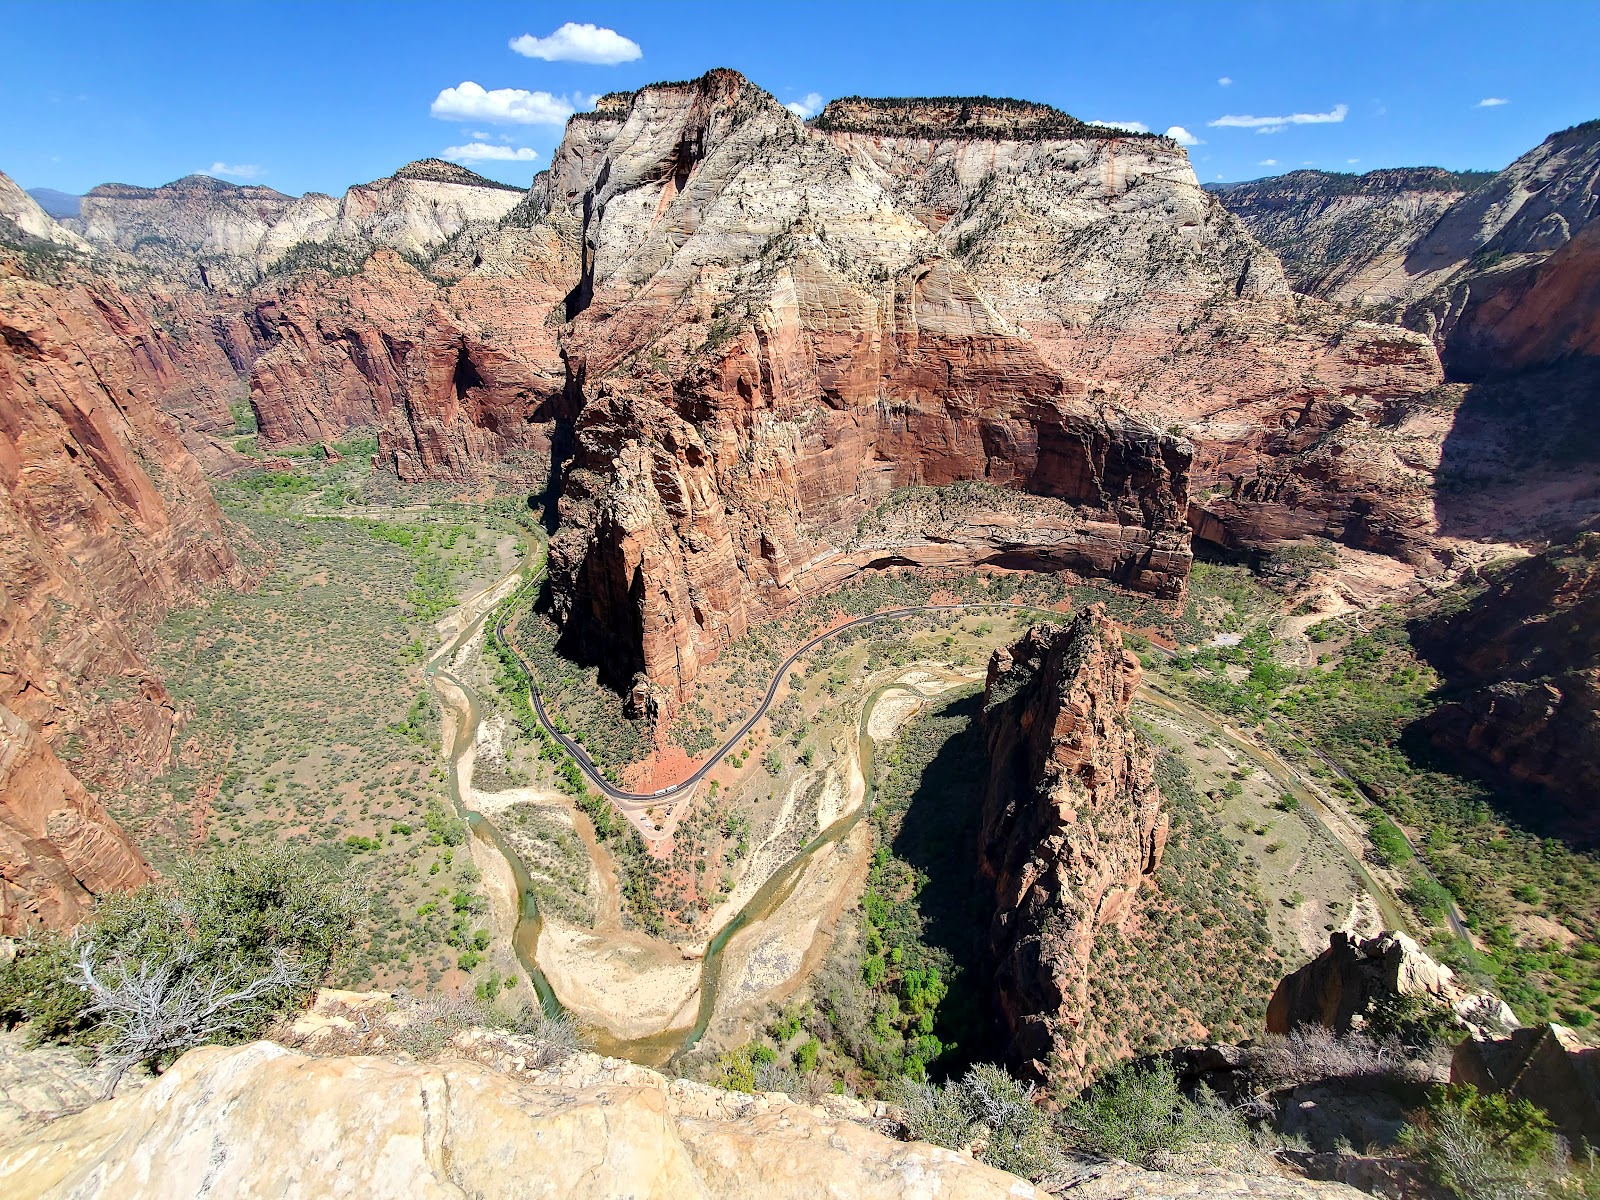
You know I have always heard people say how scary this hike is, however
what everyone neglects to say is how difficult it is. Seriously. Never once
was I scared while doing this hike, but there were times where I wasn’t
sure if my legs were going to make it. There was an intense elevation
gain and an unnecessary amount of switchbacks that just demolished
my knees and calves. However, I would go back and do it again and
again. It was so worth all the pain and suffering for the views!
.
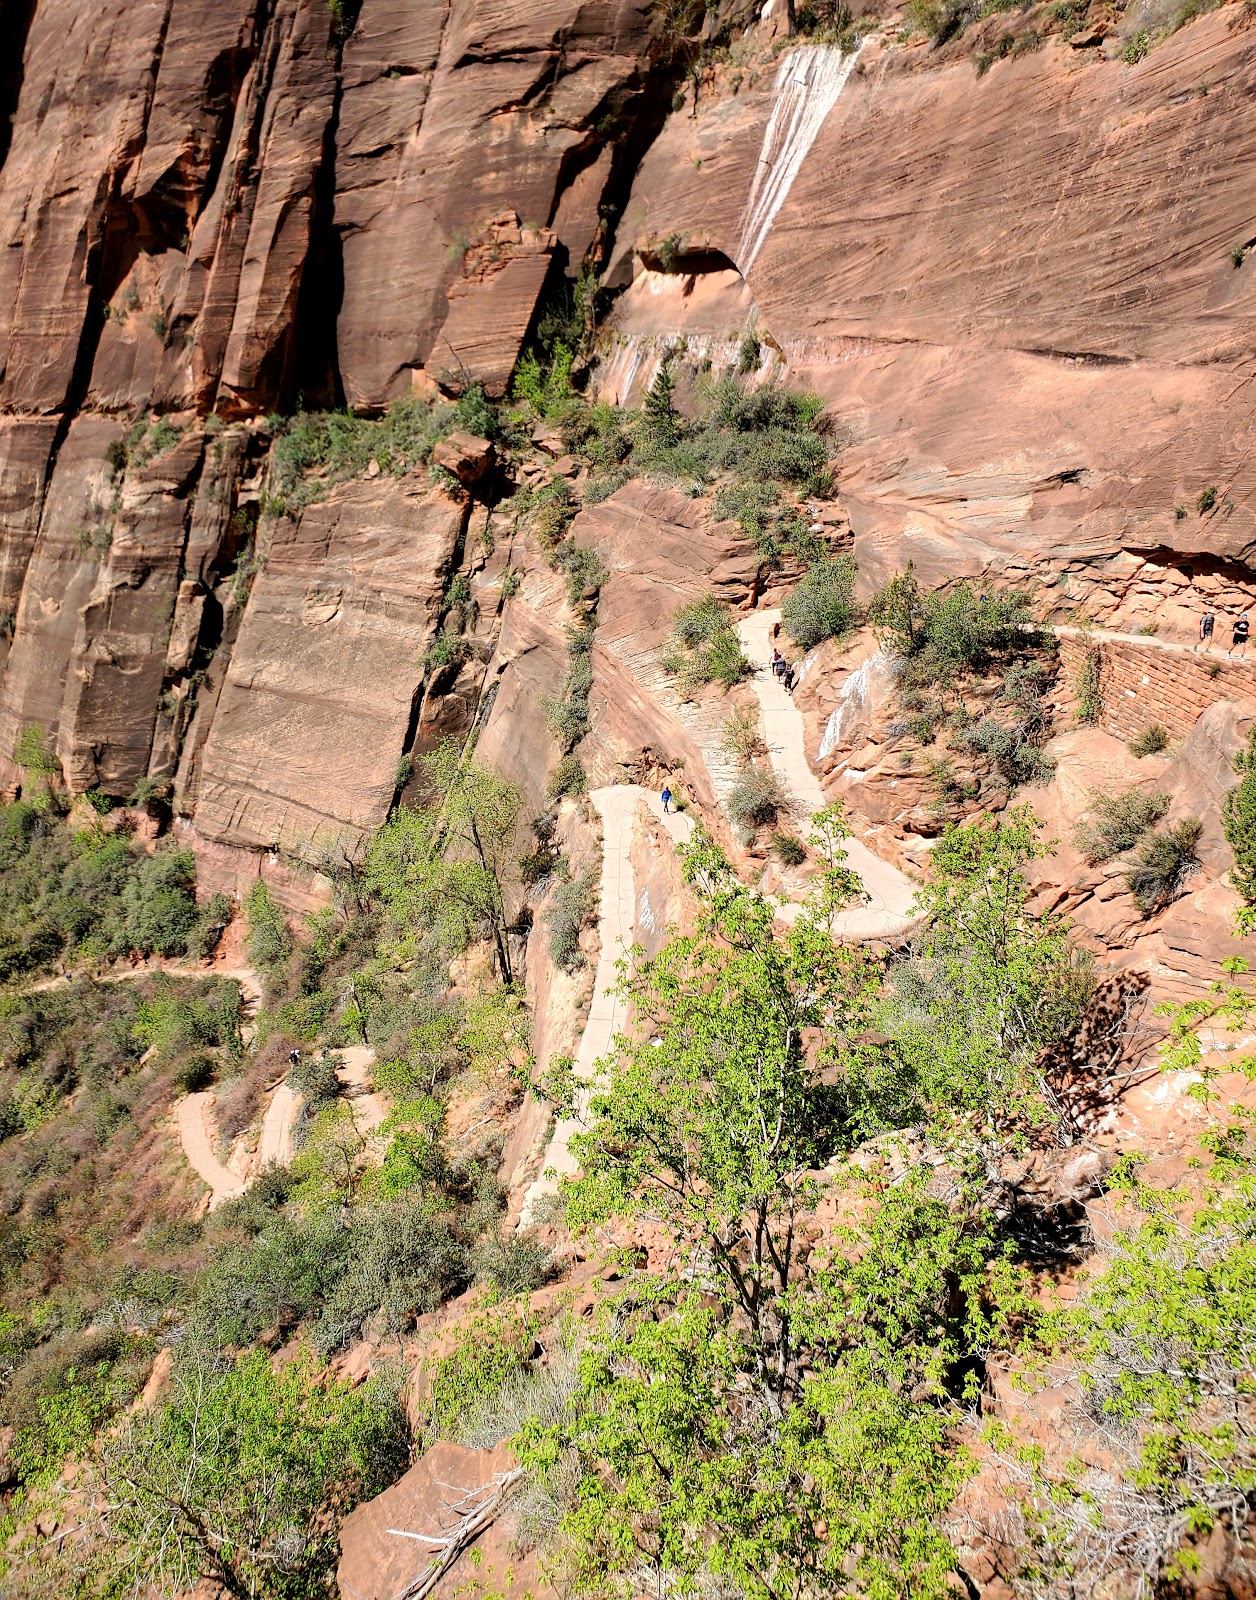
Switchback set #1
Switchback set #2
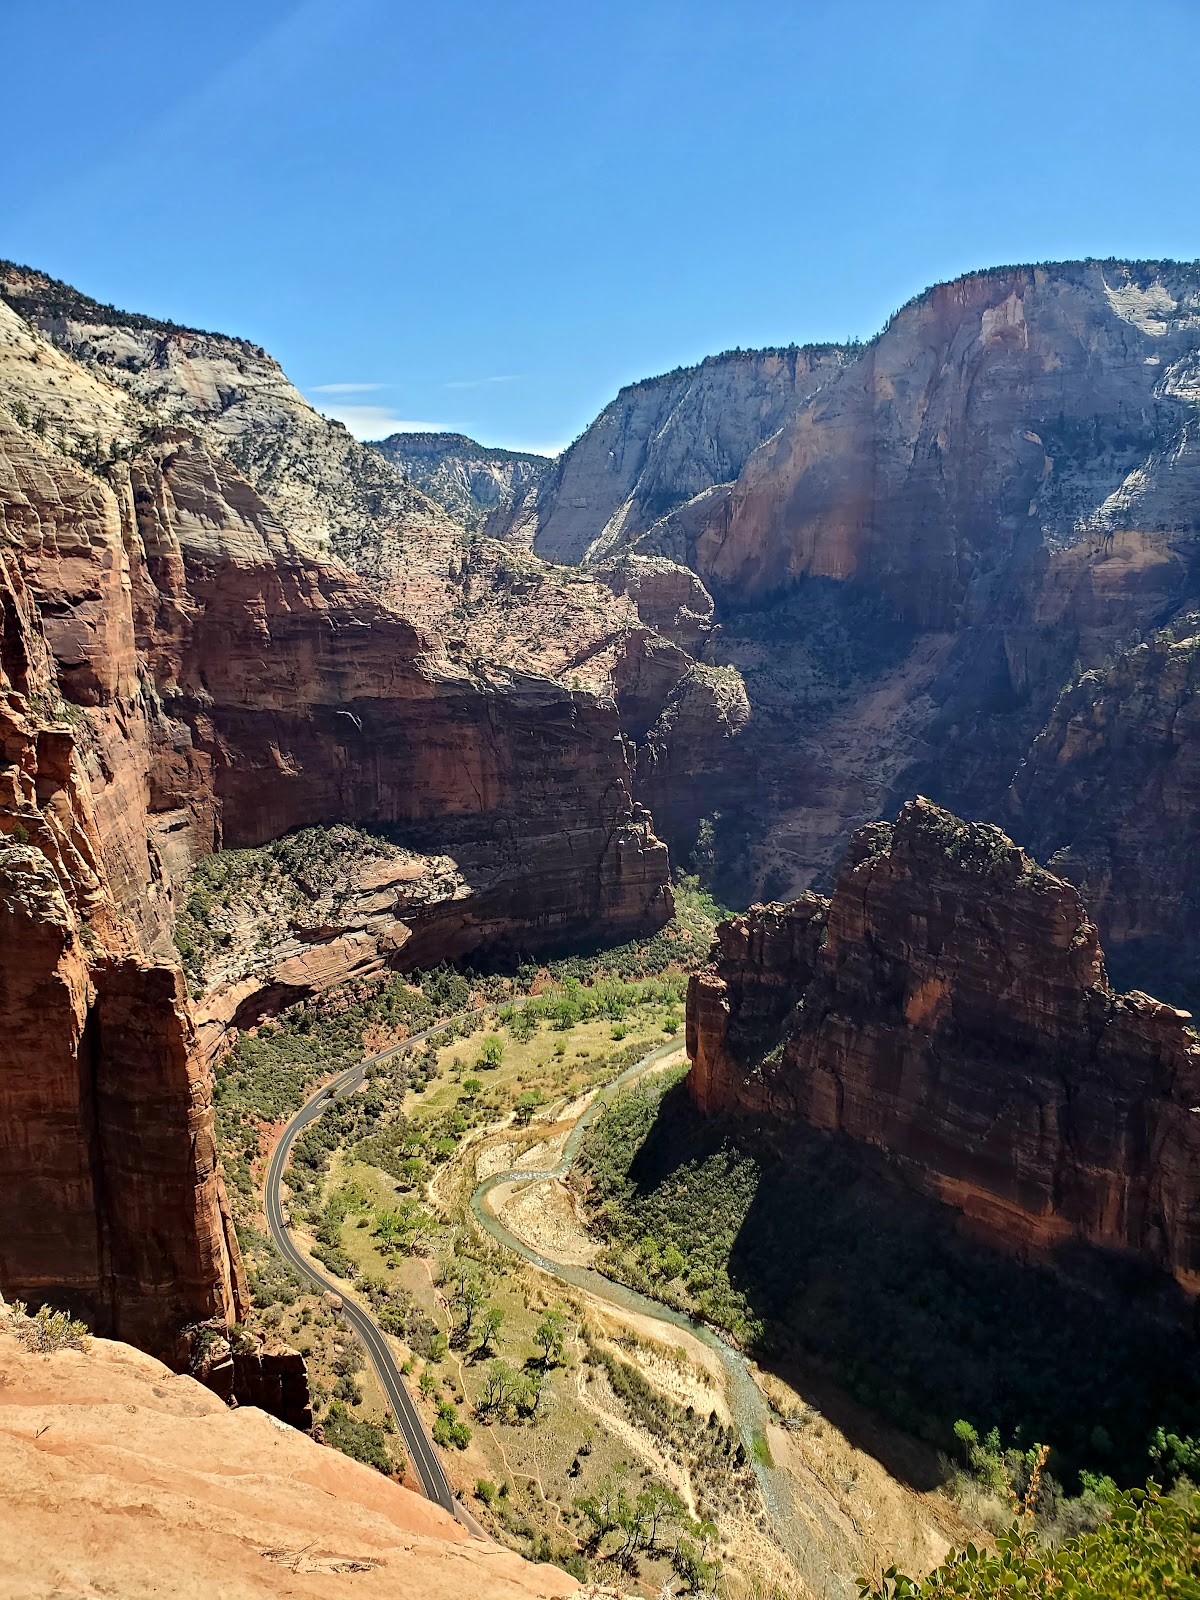
This is the part in the hike where I saw a lot of people take one look
and decide they weren’t going any further (yes you hike up that). Now
I know that it does look very intimidating, but I promise you that it
really isn’t bad. There is more room than you think, coming down is
easier than going up, and the views at the end of the trail are worth
any potential panic attacks you may have along the way.
.
.
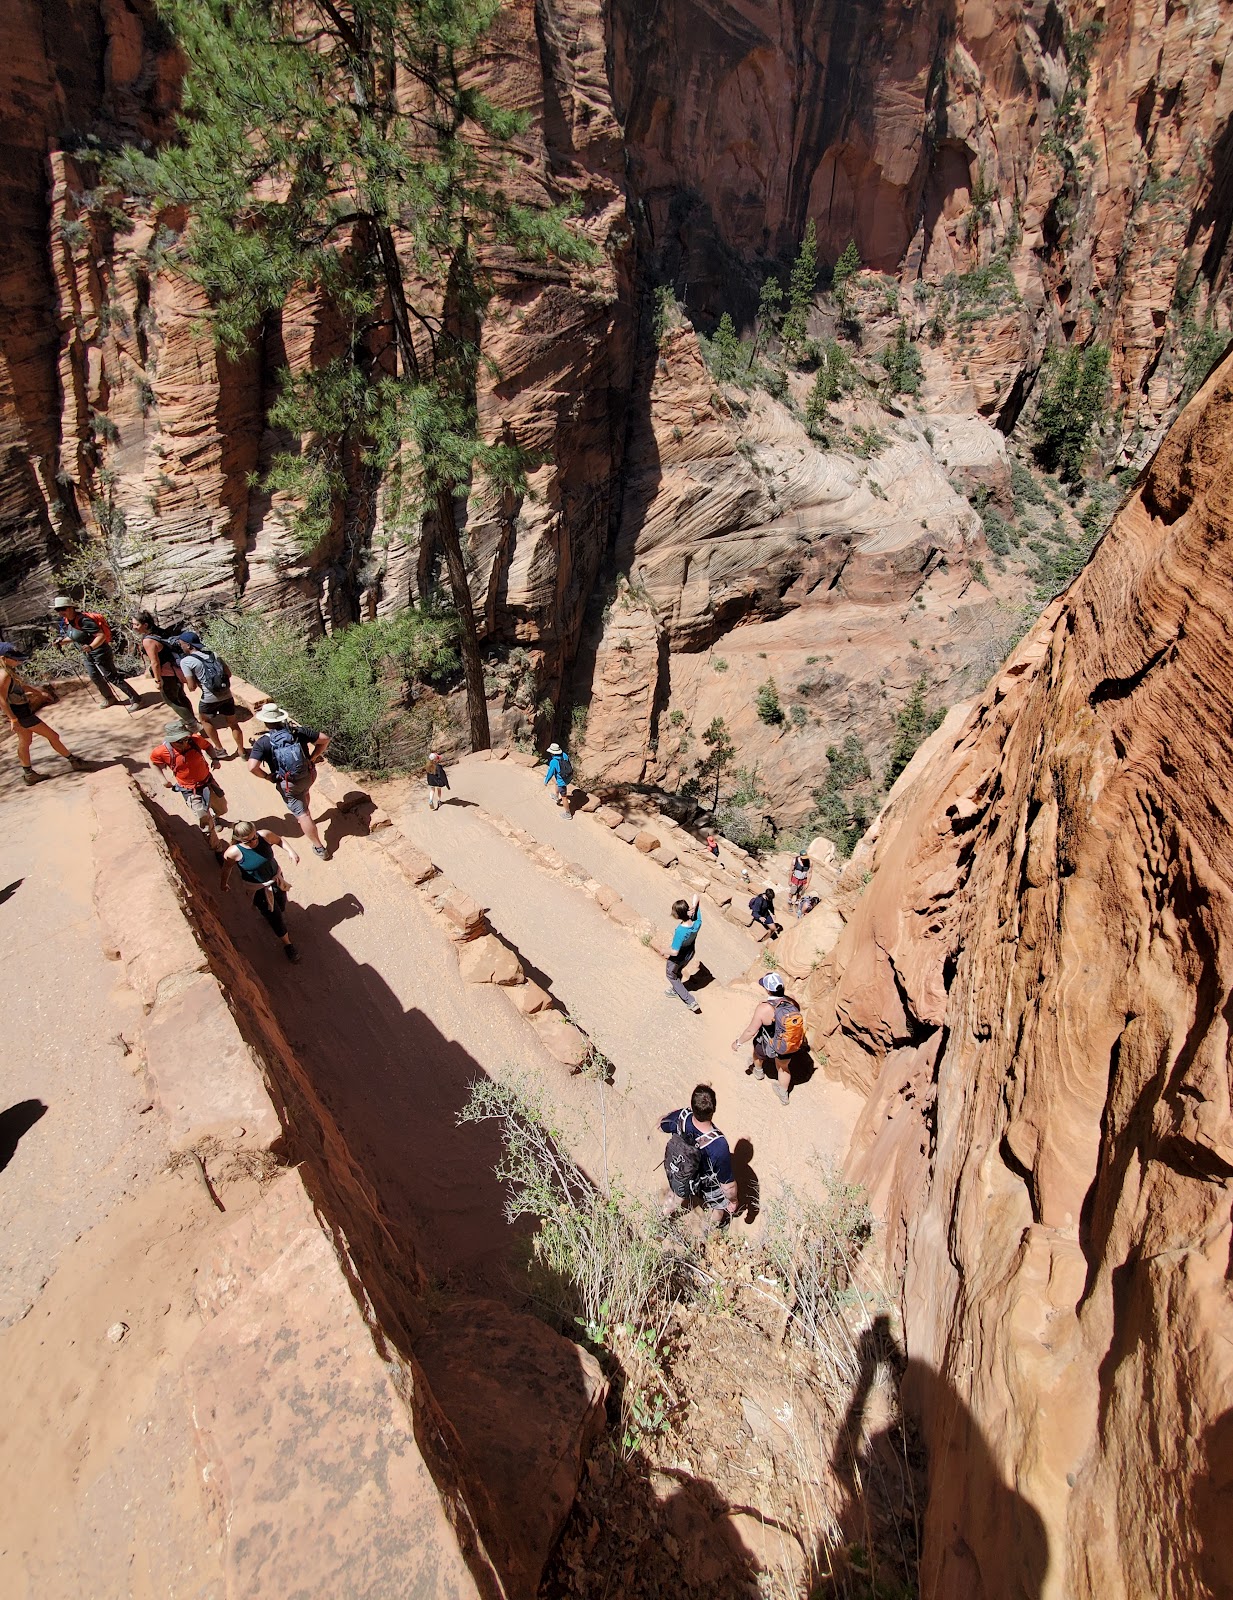
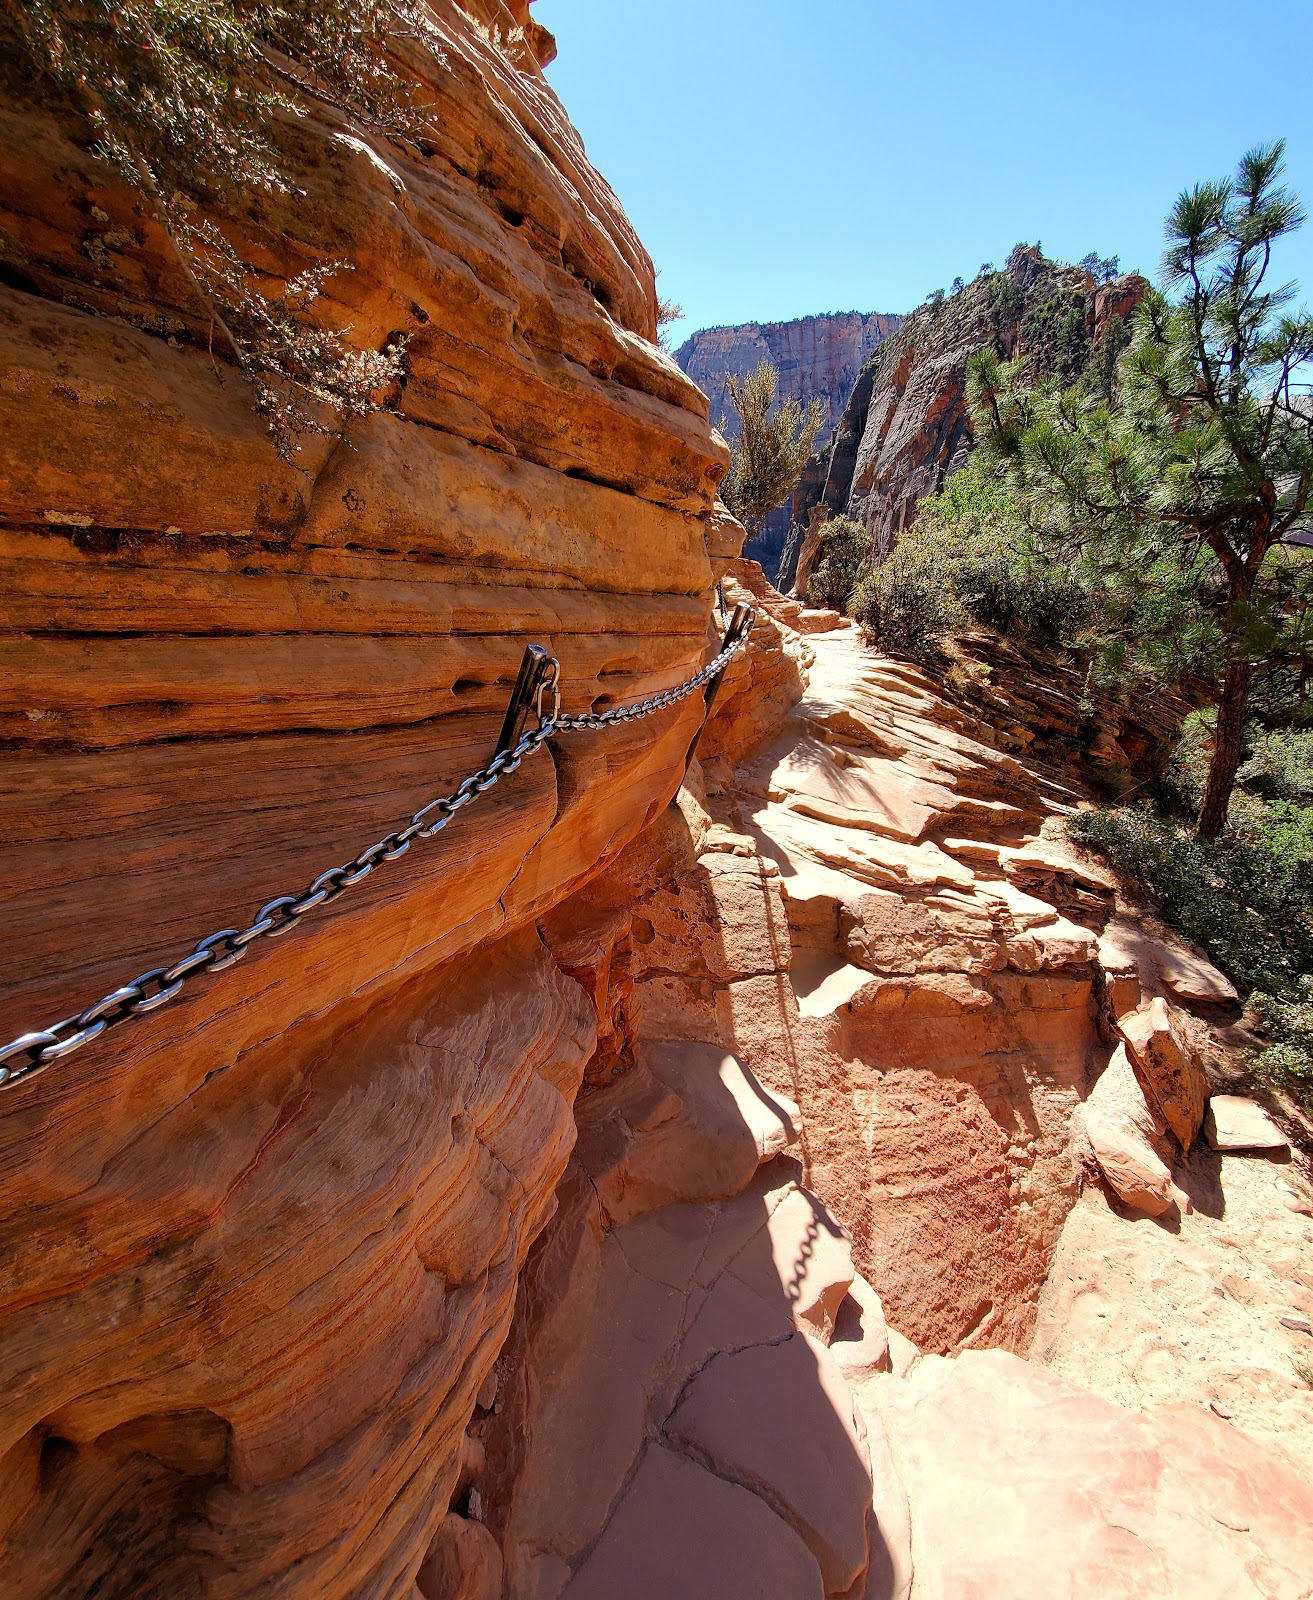
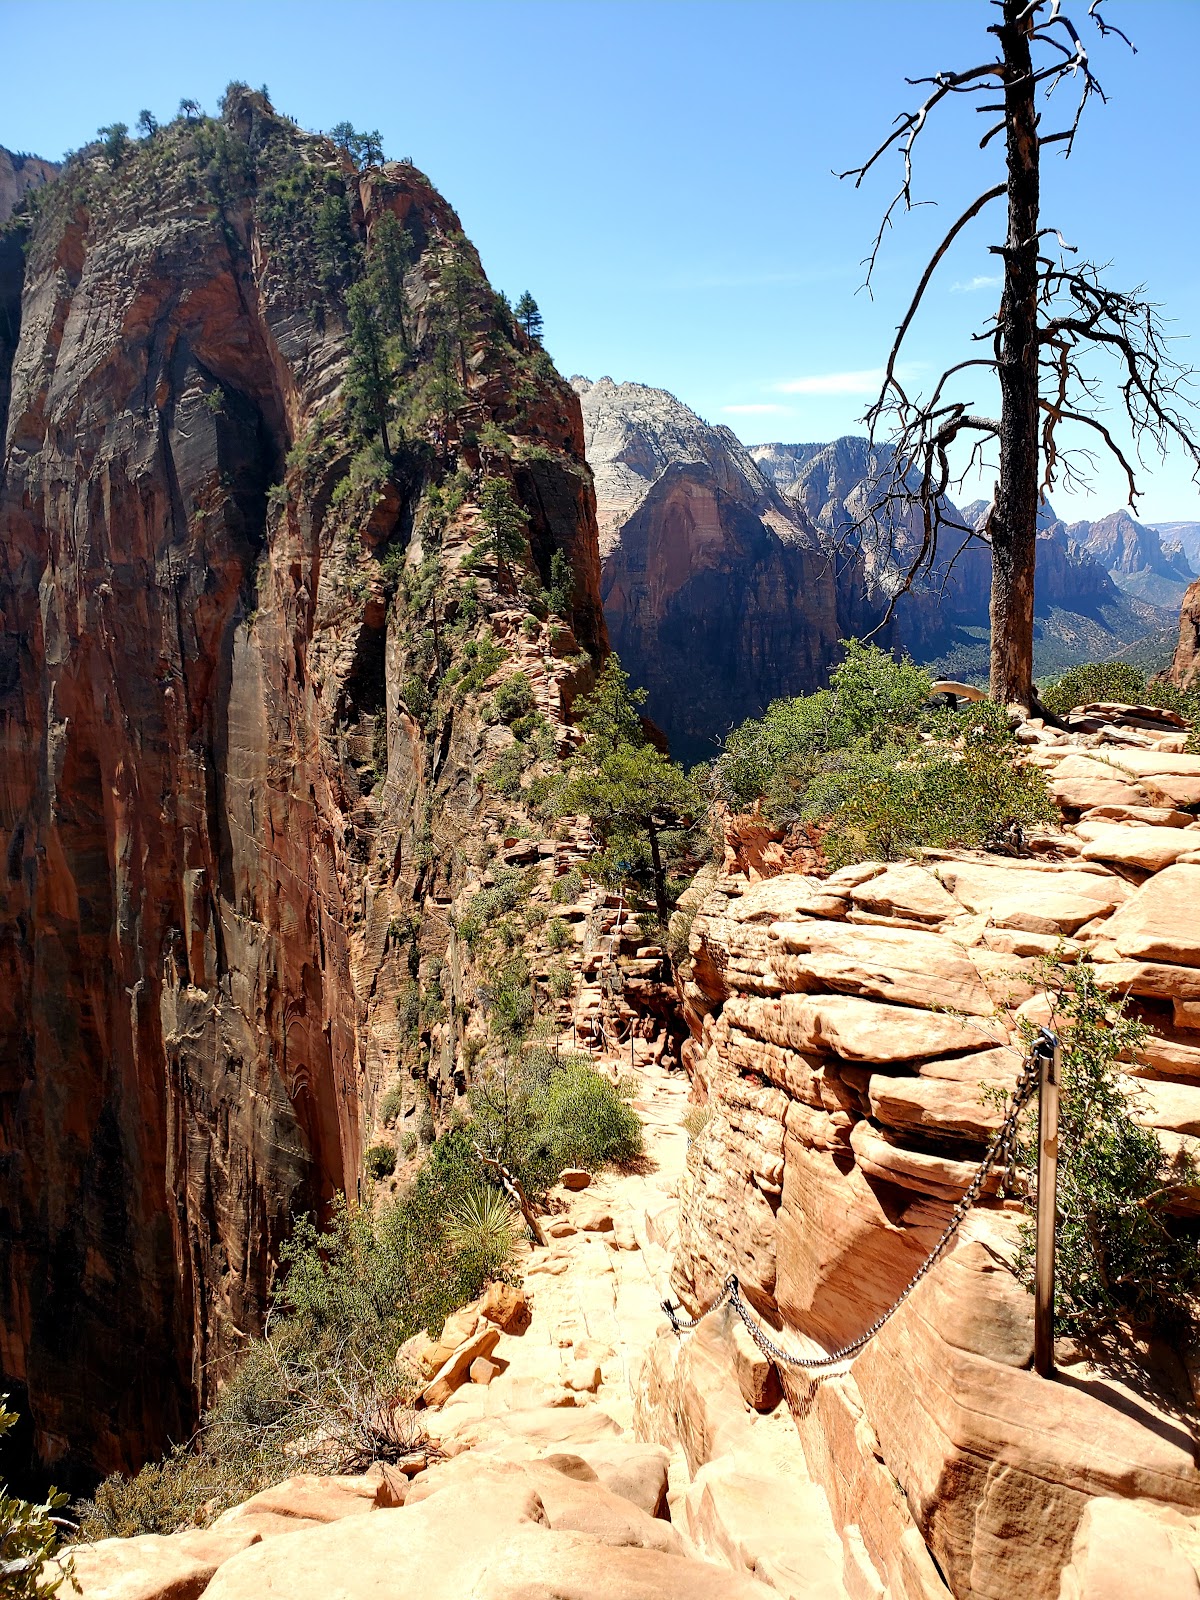
If you are scared of heights I can definitely see why Angel’s Landing
might be a tough hike for you as it has a lot of cliffs to traverse
and narrow sections where you will meet people coming up and going
down. When you do run into other hikers be courteous and if you have
room get over and let them pass. Honestly I think the longest part of
this hike is waiting for other hikers to get through sections since the
trail itself is really only a “one-way” trail.
.
After Angel’s Landing I decided to put my body through another long
hike and hiked out to the Emerald Pools.
.
TRAIL INFORMATION - Lower Emerald Pools (from shuttle stop #5)
Rating: Easy
Round Trip Length: 1.2 miles
Average Time to Allot: 1-2 hours
Elevation Change: 69 feet
.
TRAIL INFORMATION - Middle Emerald Pools (from shuttle stop #5)
Rating: Moderate
Round Trip Length: 2.2 miles
Average Time to Allot: 1.5-2.5 hours
Elevation Change: 150 feet
.
TRAIL INFORMATION - Upper Emerald Pools (from stop #5)
Rating: Moderate
Round Trip Length: 1.0 mile
Average Time to Allot: 1 hour
Elevation Change: 200 feet
.

As you can see from this map you can get to the Emerald Pools trail from The Grotto (which is where I got off for Angel's Landing) via the Kayenta Trail. The hike to Emerald Pools will be a little longer if you leave from The Grotto.
.
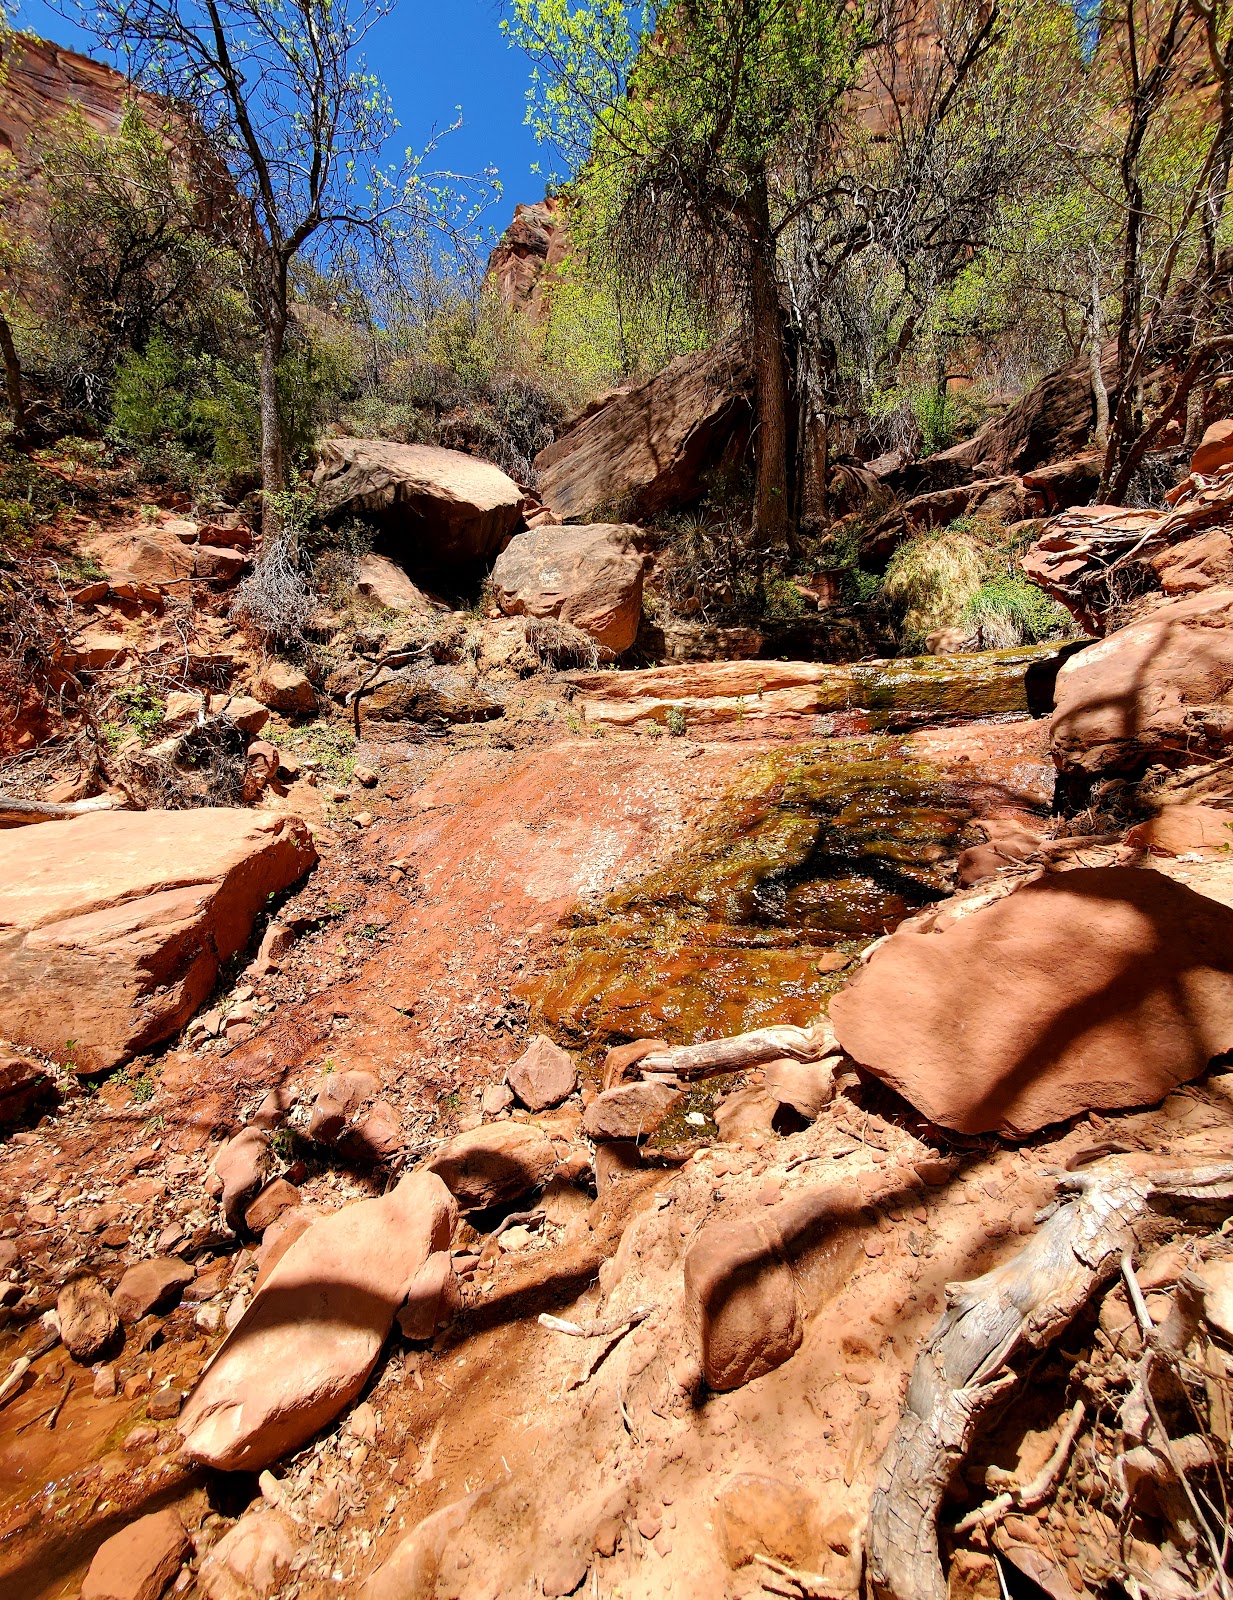
This trail started exactly how I wanted it to after the strenuous
Angel’s Landing trail, uphill. My legs and knees hated me soooo
much. Lol Eventually I made it to the lower and middle pools and, I’m
going to be honest with y’all, I was not all that impressed.
.
.
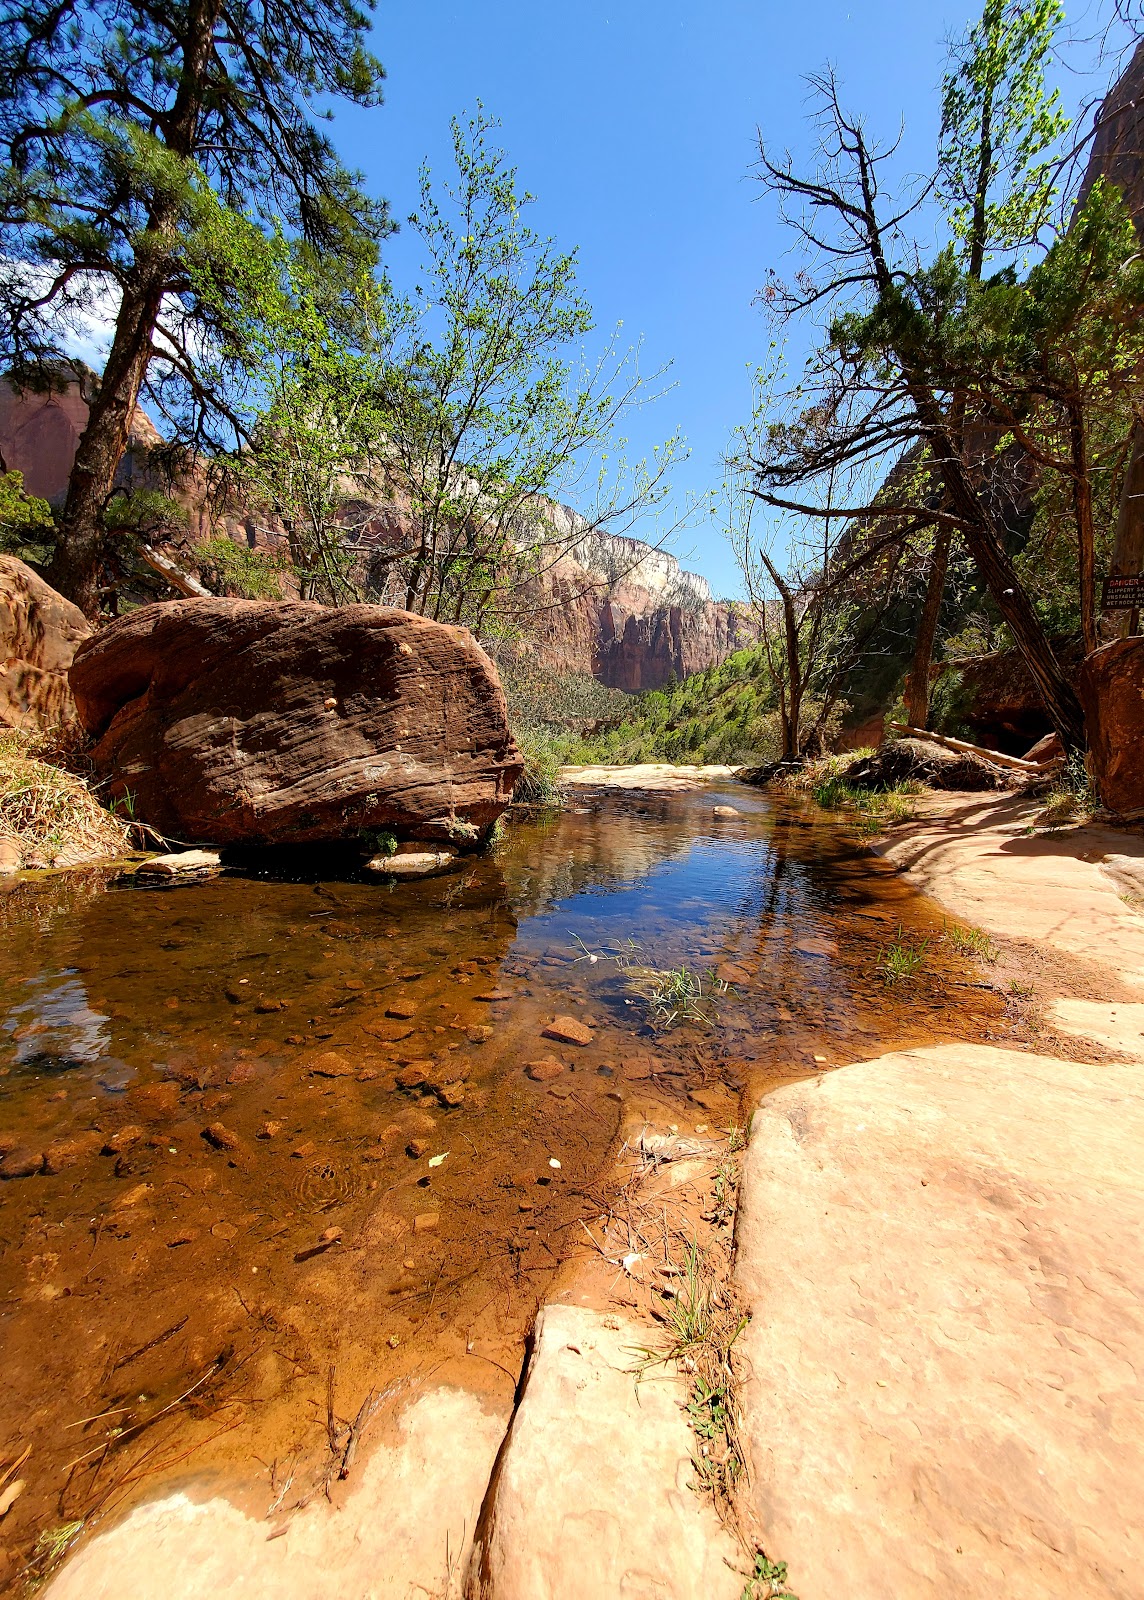
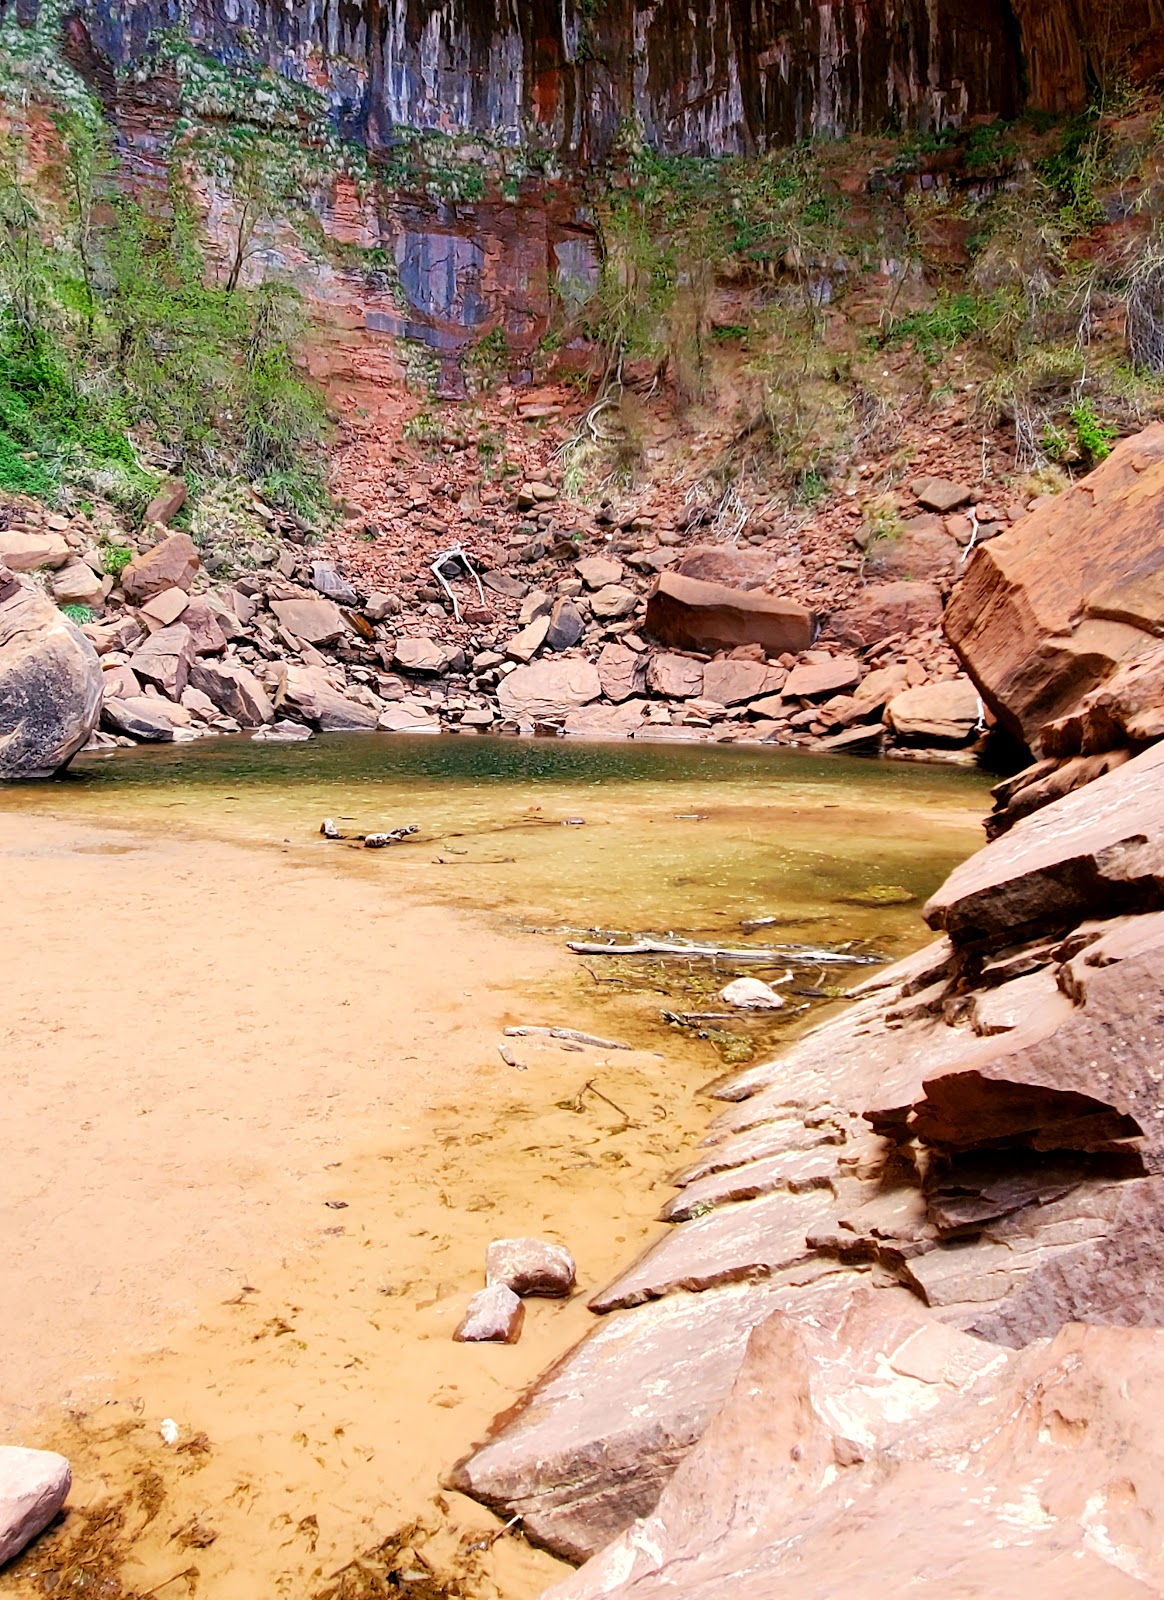
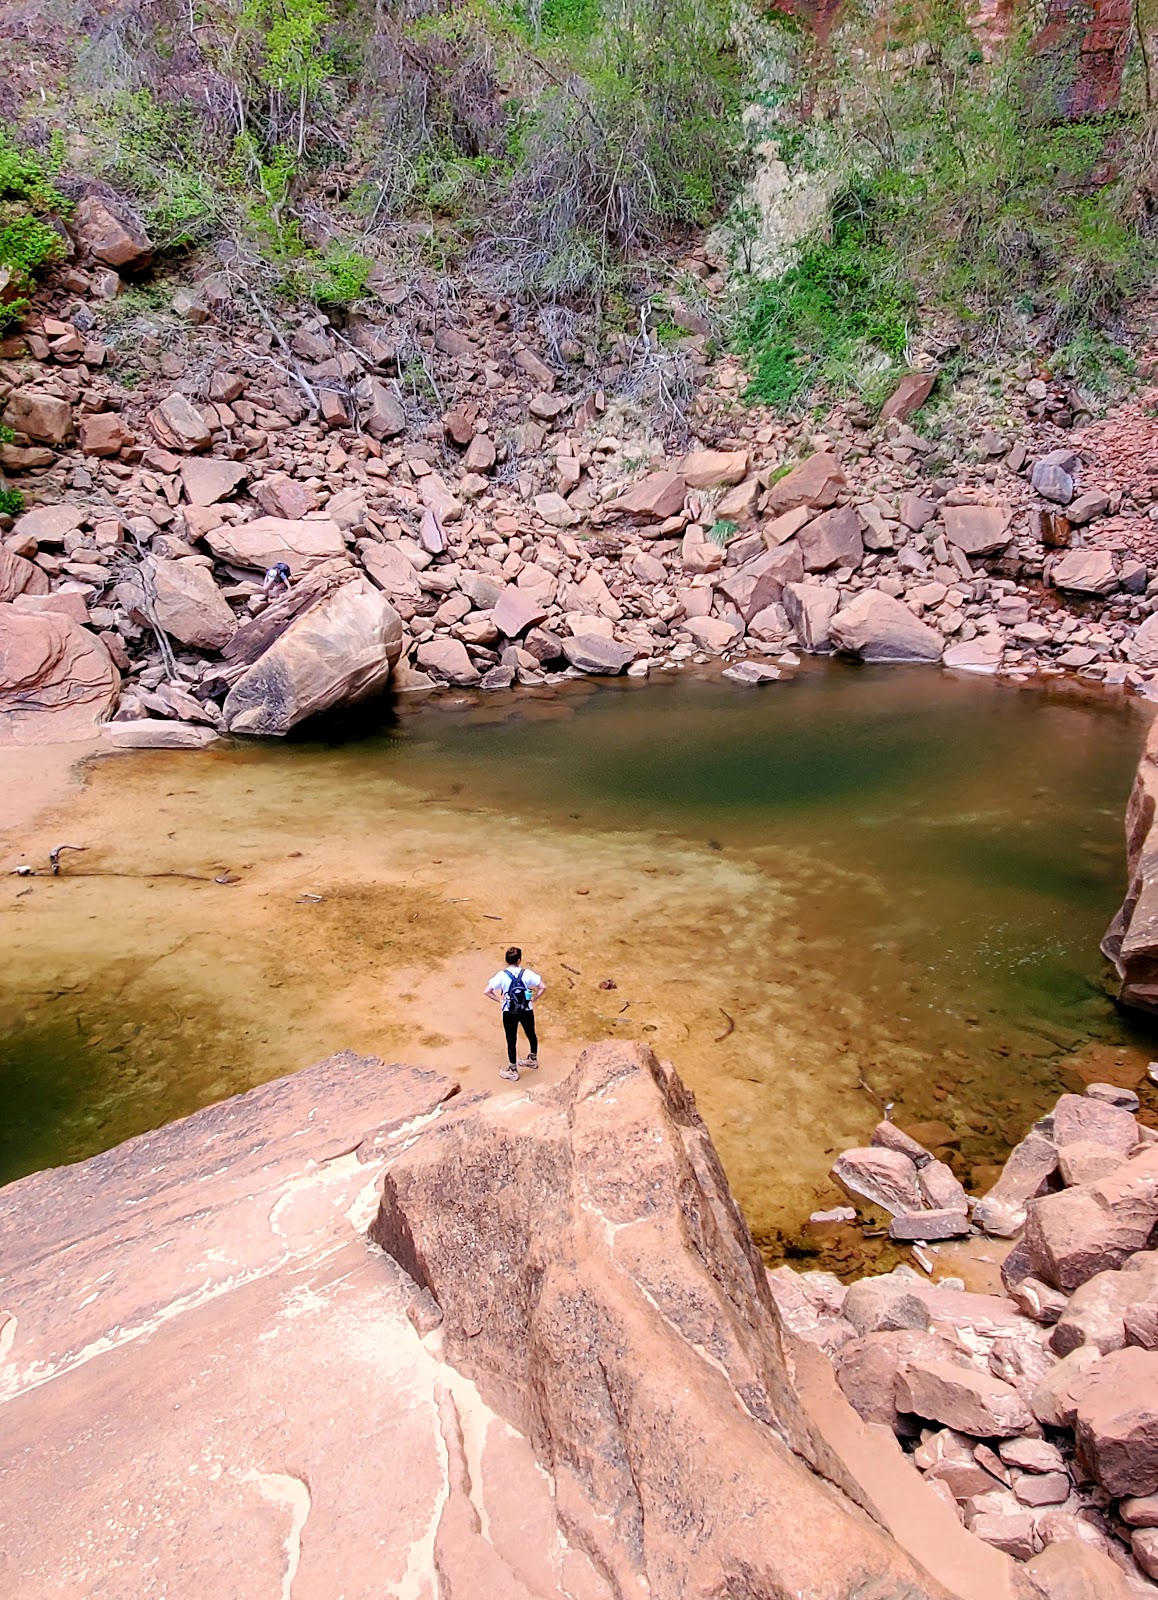
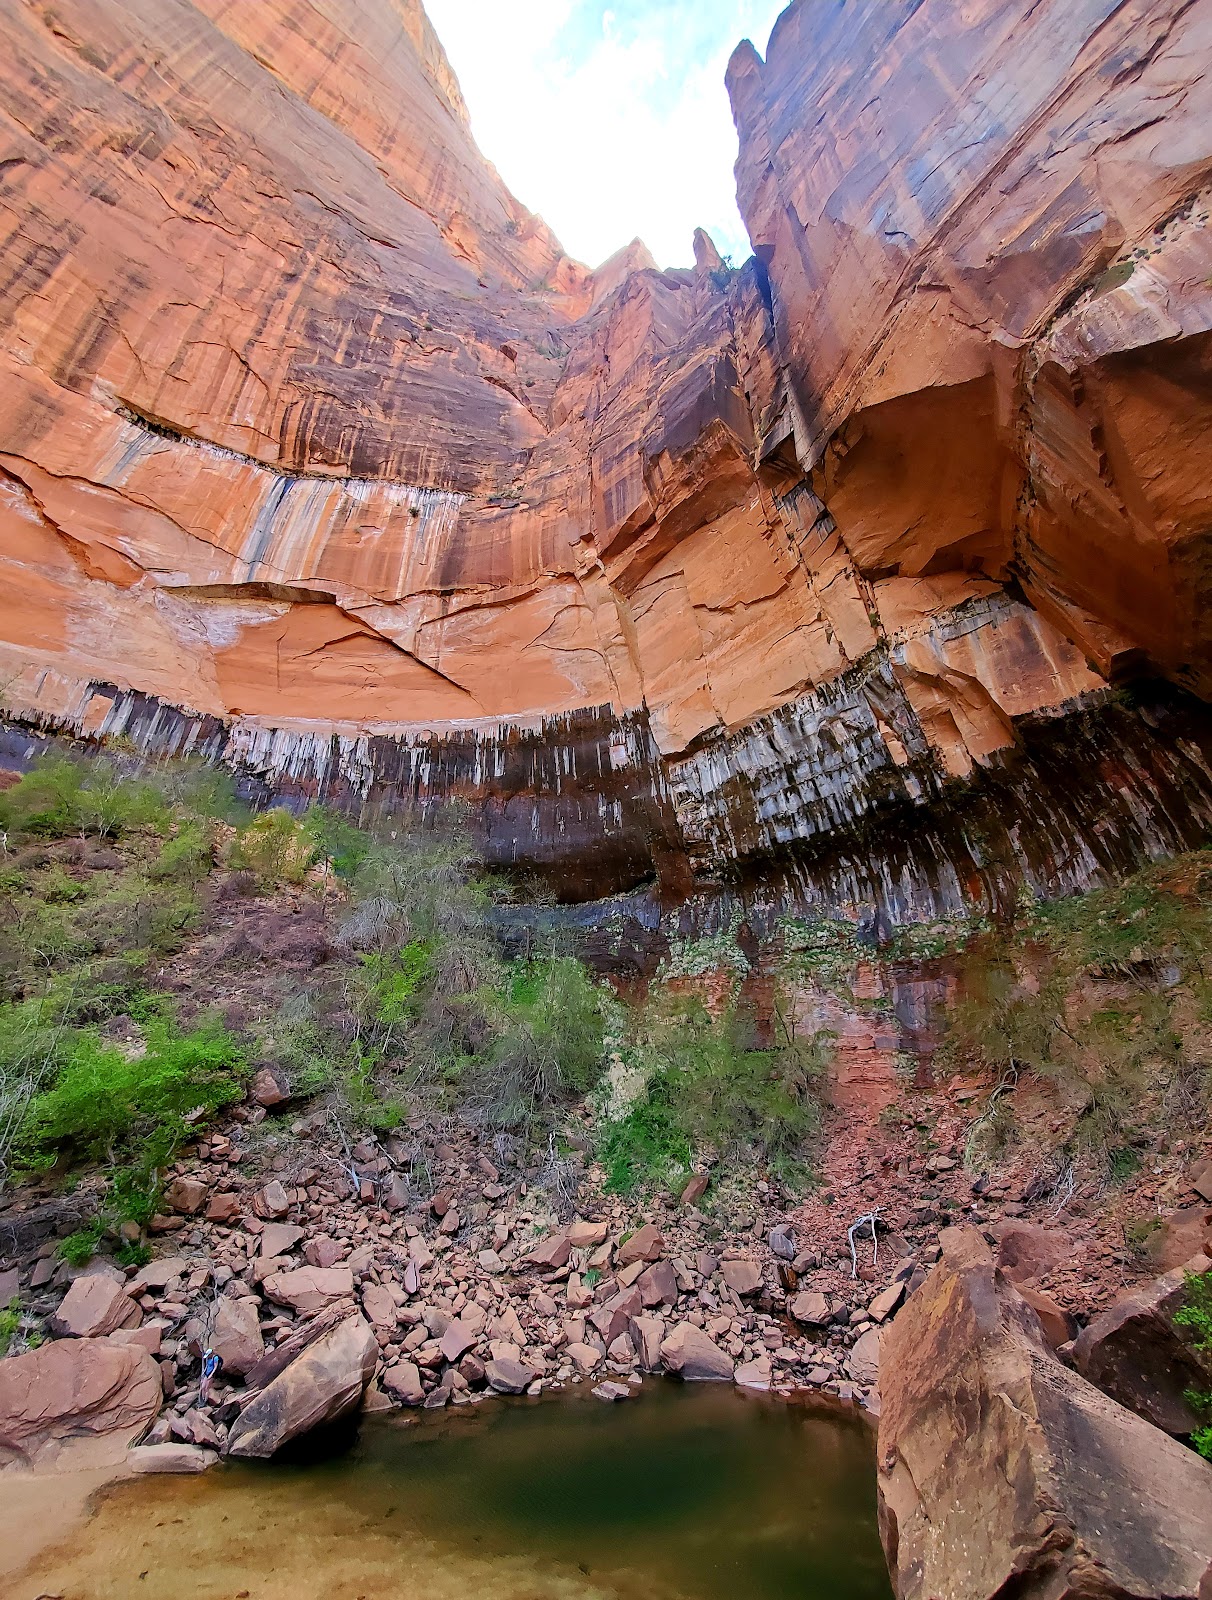
I couldn’t believe I hiked uphill for that, but I continued on the rest
of the trail anyway hoping that the upper pool would make up for
them, and boy did it. The upper pool was so much bigger than
either the lower or middle pool and the scenery around it was
also so much better. It felt like I was in a natural amphitheater.
.

.
After spending a little time at the Upper Emerald Pool I finished
out the rest of the trail and found myself at the Zion Lodge (shuttle stop #5). I stood
in line (for about an hour) for the shuttle to take me back to the visitor’s
center and then started on my drive to Tropic, Utah.
.

Before I left the visitor center I had to snap a pic of this four legged park visitor.
.
On my drive out of the park I made sure to go through the infamous
Mount Carmel tunnels via the Zion-Mount Carmel Highway and, to be
honest, I didn't think the tunnels themselves were as impressive as
I was expecting, but the red rocks and views around
the tunnels were very pretty.
.
Notes on the Mount Carmel Tunnel
.
If you are driving an oversized vehicle (which is any vehicle that is
11 feet 4 inches high or higher and 7 feet 10 inches wide or wider)
you will have to pay a $15 fee to go through the tunnel and require
one-way traffic assistance. If your vehicle is 13 feet 1 inch high or
higher you cannot go through the tunnel at all.
.
If your vehicle is under the oversized limits you can pass through the
tunnel free of charge. Drive slowly and pay close
attention to where you are going. There are no pilot cars leading the way.
.
The tunnel itself is 1.1 miles long and it is definitely dark inside.
Be prepared to turn on your headlights and I recommend (if possible)
making sure your windshield is clean because the headlights of oncoming
traffic can make it difficult to see if you have a dirty windshield
(as I found out the hard way). Lol
.
More information on the tunnel can be found here.
.
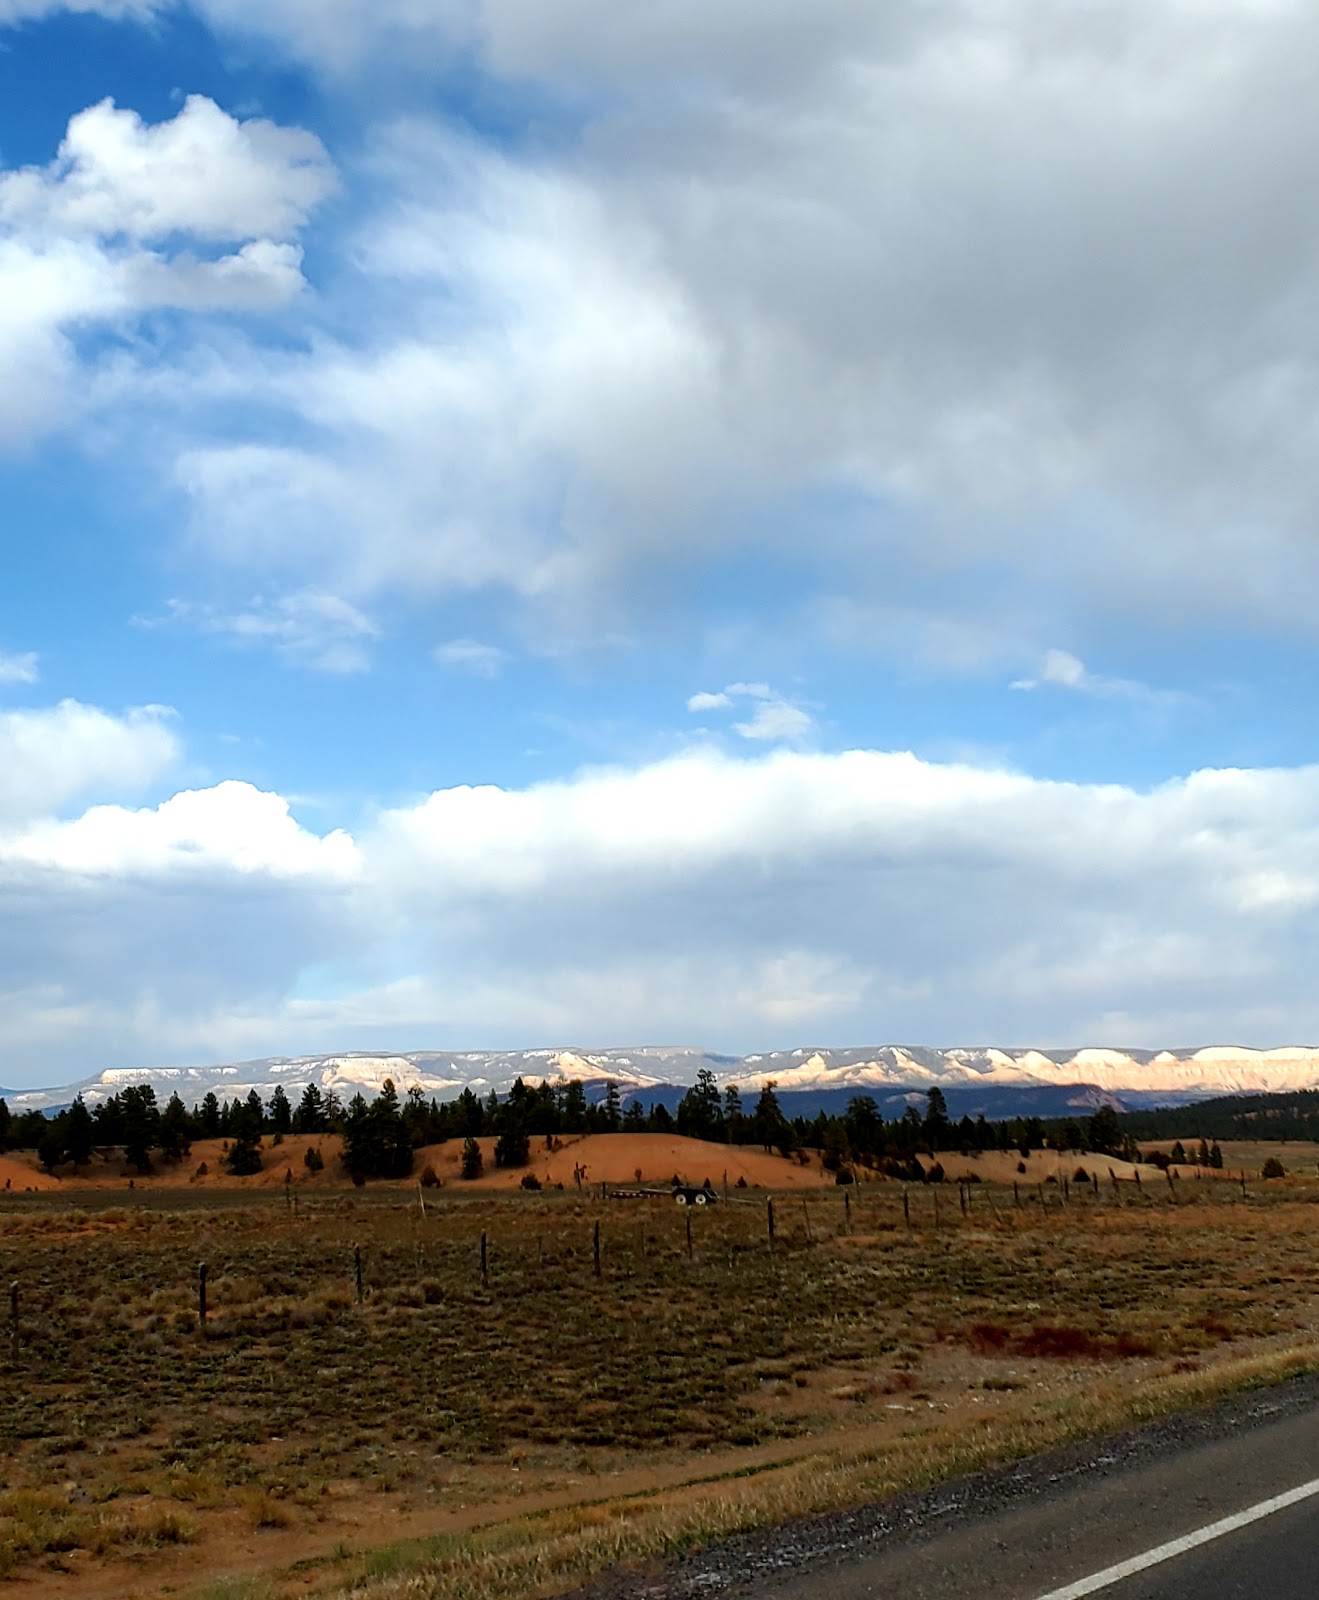
After the tunnels I headed to Tropic via Highway 12 and it is so easy to see why it is a scenic byway.
.
Amy’s Zion Tips
.
Be prepared for the heat
.
If you are planning on going to Zion in the summer you need to take
in consideration the temperature which can reach 90 degrees and
higher in the summer months. So to prepare yourself for those temps you can:
.
Start your hikes early in the morning
Bring LOTS of water and take frequent water breaks
Wear sunscreen
.
Know your limits
.
There are a lot of strenuous trails in this park from Angel’s Landing
to The Narrows and it is important that you know your body’s limits
and are prepared when you go on any hikes.
.
Get to the park early
.
If you are wanting to get one of the coveted parking spots at the
visitor’s center I recommend you get to the park early in the
morning (like around 6-7am). As you read above on my second day
in the park I arrived at the lot at 9am and really struggled with finding a spot.
.
Know how the shuttle system works before going
.
In Zion if you want to get around you will be riding the
shuttle (unless you have a bike or want to make super long treks
throughout the park on foot) so it’s important to know how the shuttle works before you go.
.
There are two shuttle loops in Zion; the Zion Canyon Shuttle and the
Springdale Shuttle. The Zion Canyon shuttle will take you into the canyon
and the Springdale Shuttle will take you into town and to the south entrance.
.
The shuttles are free to ride.
.
The shuttle leaves the visitor center every 6-10 minutes starting at 6am
and ending at 5pm. The final shuttle back to the visitor center is at 8:15pm.
.
For more shuttle information you can use this link here.
.
.
And that was how I spent my time in Zion! Unfortunately, while I was in the
park there was a cyanobacteria warning so I wasn’t able to hike The
Narrows, but that just means I have another great reason to go back!
.
.
Have you been to Zion before? If so, what did you do while you were there?
If not, what is the first thing you want to do when you go?
.
.
.